How to use AI to chat with your Obsidian vault
Obsidian is a very powerful tool in the personal knowledge management space.
It allows users to quickly and easily capture, organize, and store their thoughts, ideas, and notes. It also provides powerful search capabilities, so users can quickly find what they need.
With its intuitive interface, Obsidian makes it easy for users to quickly access their notes and ideas.
But one thing that it lacks is the ability to use AI ON the ideas and notes that are stored in the Obsidian vault.
There is no built in way to “chat” with your Obsidian vault, there’s no way to use ChatGPT on top of it.
Well, that was true until the Elephas Super Brain feature was launched.
With Super Brain, you can now create a “brain” for all your knowledge base and chat with it, all from the comfort of your Mac.
You can create a brain for each topic you care about, add multiple files, urls, documents to that brain and treat it like your own personal ChatGPT.
And, you can do that with your Obsidian vault as well.
Here’s how it goes -
Step 1: Get the folder location of your obsidian vault
First, you need to figure out the location of your Obsidian Vault.
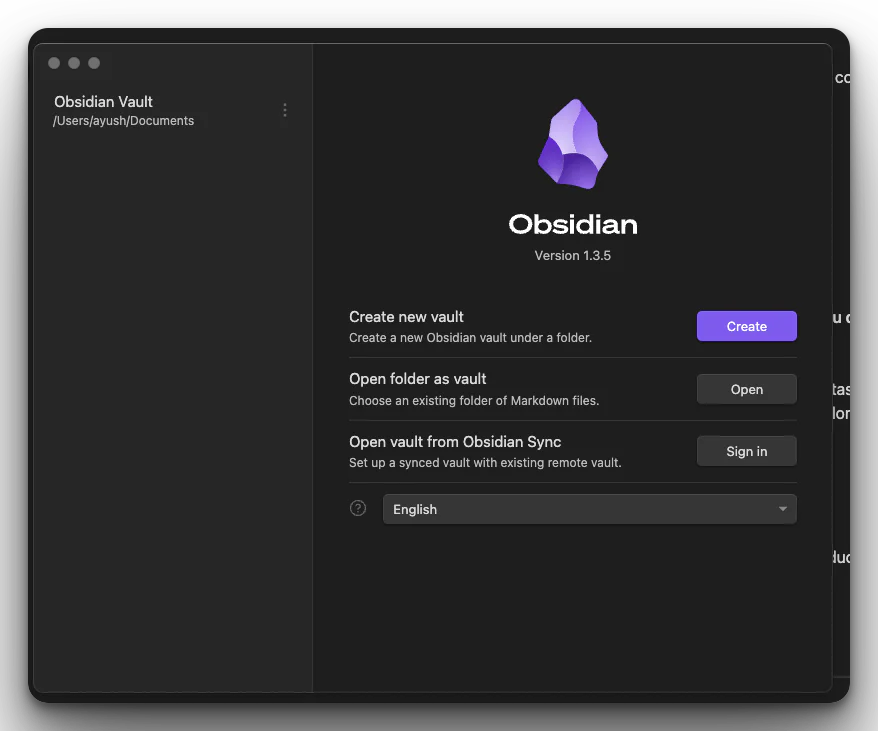
- Open Obsidian > Click File > Click “Open Vault”
This will show a popup dialog, with the file location of your Obsidian vault.
Copy the location, or note it down somewhere.
It will look something like this -
Step 2: Get Elephas
Now that you know the location of your vault, move on to Elephas - Your very own Mac AI assistant.
If you don’t have Elephas already, you can download it and try it for free from the Elephas home page.
Signing up will take less than 5 minutes. With Elephas, you have to use your own ChatGPT API key, here’s a simple tutorial on how to get your own keys -
Now we’re all set for our final setup step - Creating our brain.
Step 3: Create a brain with Elephas
It’s a simple 3 step process -
- Click the Elephas icon in the status bar
- Click the “Preferences” button
- Go to the “Brains” tab and click the plus (”+”) button.
Here you will get the option to create your brain.
You can customize the brain any way you like, you can give it a name, add a custom system message, and start loading your data from multiple sources.
Currently, there are 6 ways to upload your data to the brain -
- PDFs
- Docs
- URLs
- Notion pages
- Obsidian vaults
- Roam databases
Here’s what the “Create Brain” popup looks like -

Now click on the “Load Obsidian” button.
It will open up a file picker popup where you will be asked to pick the location of your Obsidian vault.
This is the location that we noted down in Step 1 earlier.
Go to that location and select it.
Here’s what it will look like -

This way you specify the path of your Obsidian Vault.
When you click “Open”, your vault will start to get loaded into the Elephas Super Brain.
Once done, you will get the “Data loaded successfully” popup from Elephas.
And now you’re all set to chat with your data. You have your very own ChatGPT built on your own Obsidian Vault.
You can ask it questions, get advice from it, and even ask it to tell a joke. 😃
Just go to the “Elephas Super Chat” feature on your Mac, there you get the option to pick the brain you want to chat with, pick the one with your Obsidian Vault, and start chatting.
Here’s what it looks like -

Hope this was useful, and you can finally use your very own ChatGPT based on data from your own Obsidian Vault.
If you have any questions or need help, please don't hesitate to reach out. We are always here to help.
You can find more details about Elephas Super Brain on this page -
Thanks,
Kamban, Maker of Elephas.