How to Create Your Own AI-Powered Second Brain
The second brain is a concept popularized by productivity expert Tiago Forte. According to Forte, the second brain system is divided in to 4 fundamental steps -
- Capturing information from the outside world.
- Organize it in such a way that it’s easily accessible.
- Distill it down to the best ideas
- Express your own ideas in your own voice
This is a fool proof system, but many people find it hard to implement because it’s just too much work.
Especially steps 1, 2 and 3 are too cumbersome for most people to pull off. This is where having an AI-powered second brain to handle these steps can be so powerful.
Let’s see how you can create a second brain to capture, organize and distill information. And then use it to express your own ideas in your own voice.
The best way to build a second brain on AI is to use Elephas on your Macbook or iMac. The Super Brain feature of Elephas is built specifically to solve this problem.
Let’s see how it works.
Step 1 - Setting up Elephas
Elephas is a knowledge assistant for your Mac, iPhone, and iPad.
Setting it up is a simple 5 minute process.
You can download it and try it for free from the Elephas home page.
You can use Elephas offline or with any popular API keys like ChatGPT, Claude, Grok, Gemini, etc.
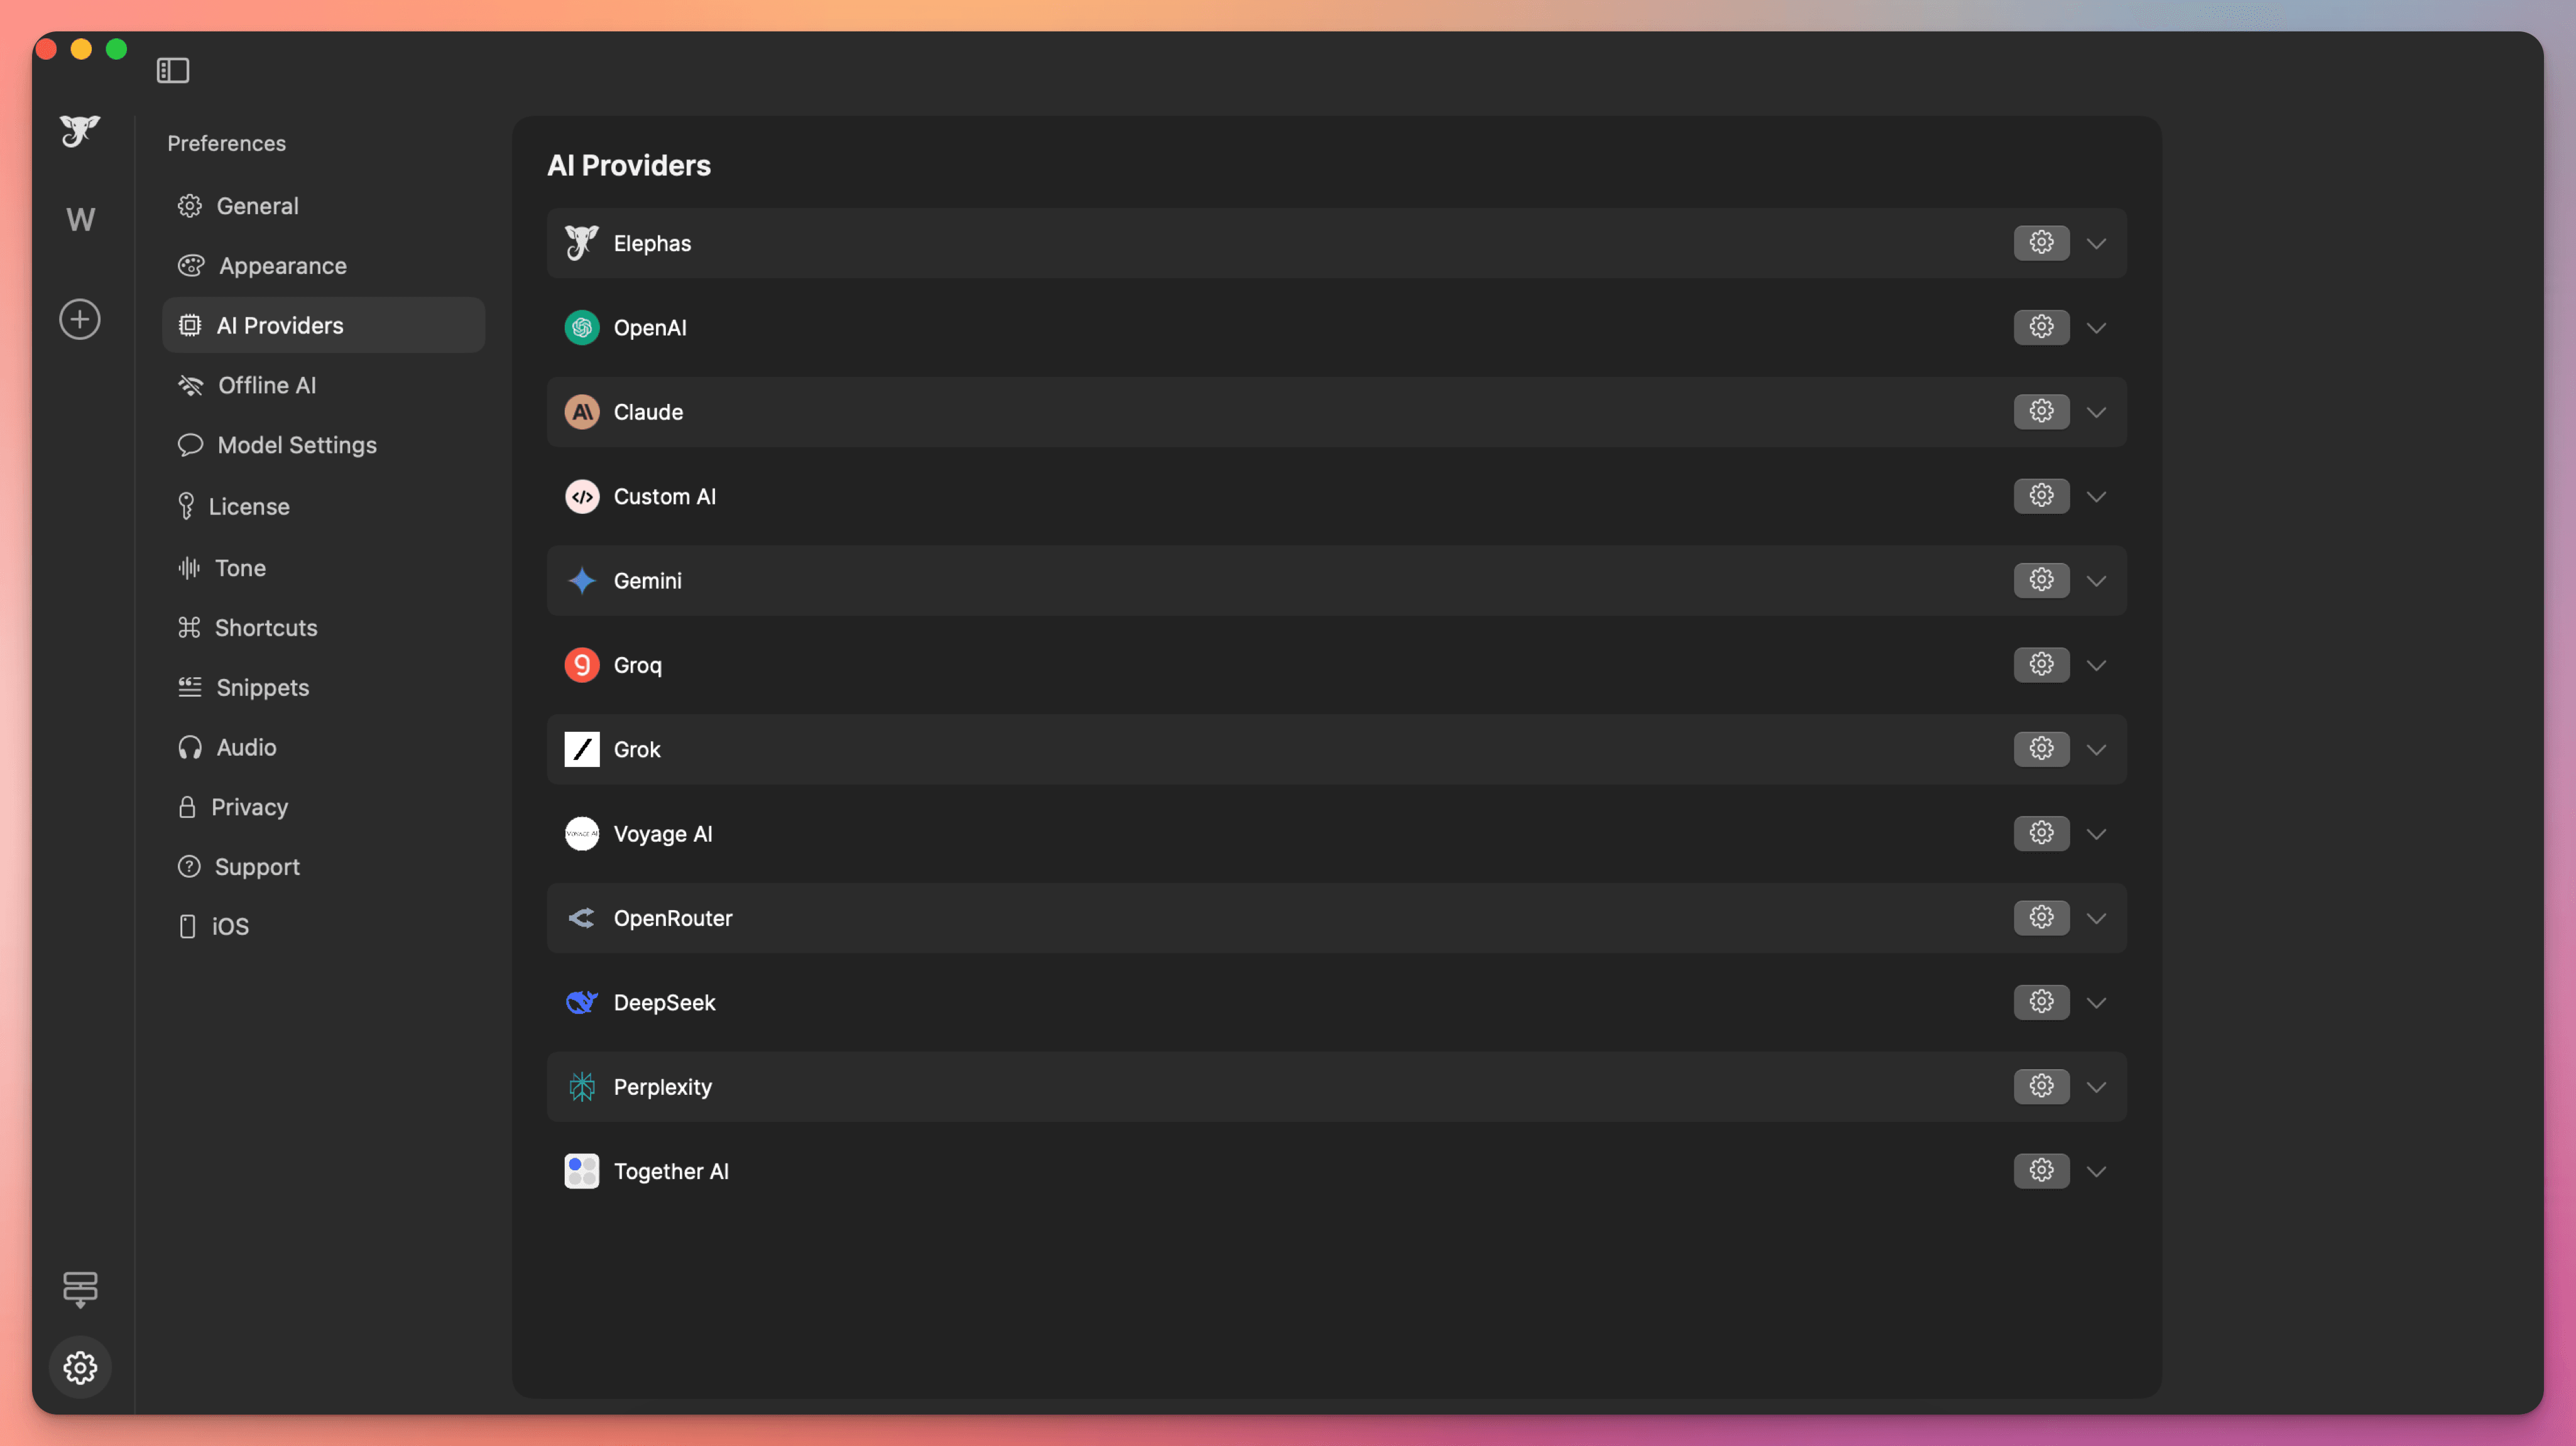
Here are simple guides for you to get different LLM Models API Keys
- How to get ChatGPT API Key
- How to get Gemini API Key
- How to get Claude API Key
- How to get Grok API Key
- How to get DeepSeek API Key
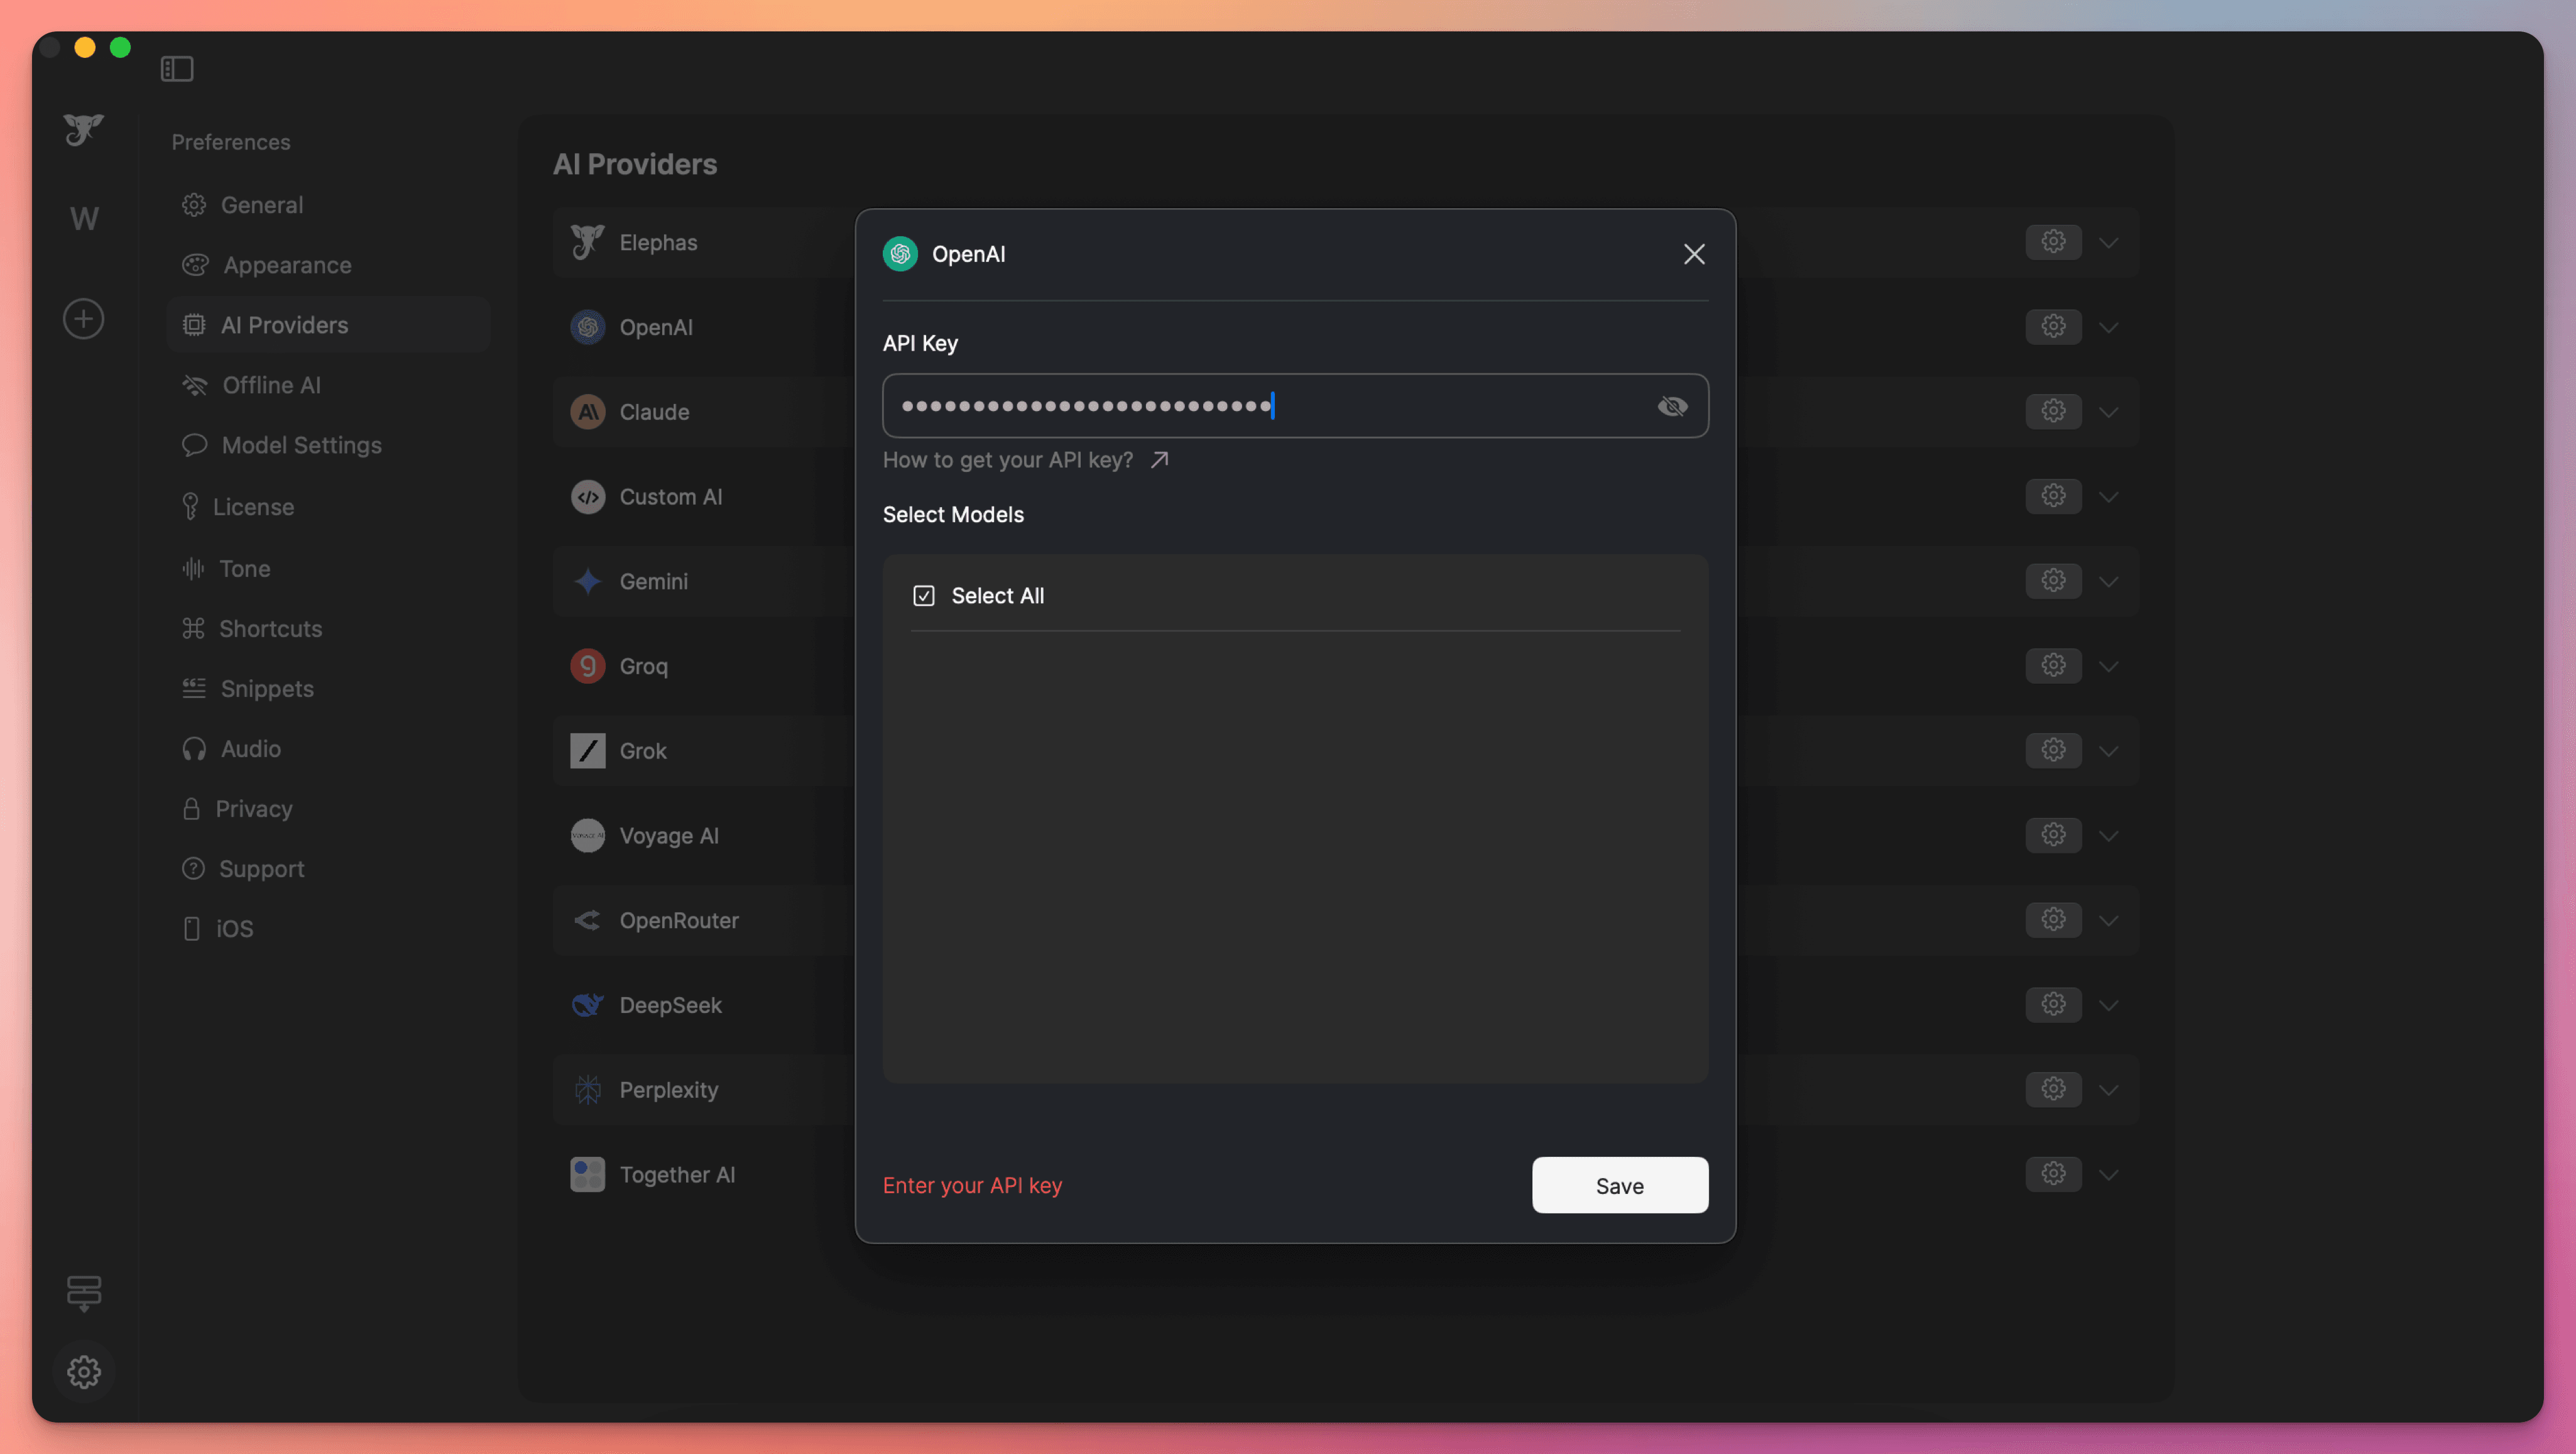
Once you get your preferred LLM model API keys, you can enter them into Elephas and start using it.
If you want to use Elephas offline, then you can use Ollama to download the open-source LLM models.
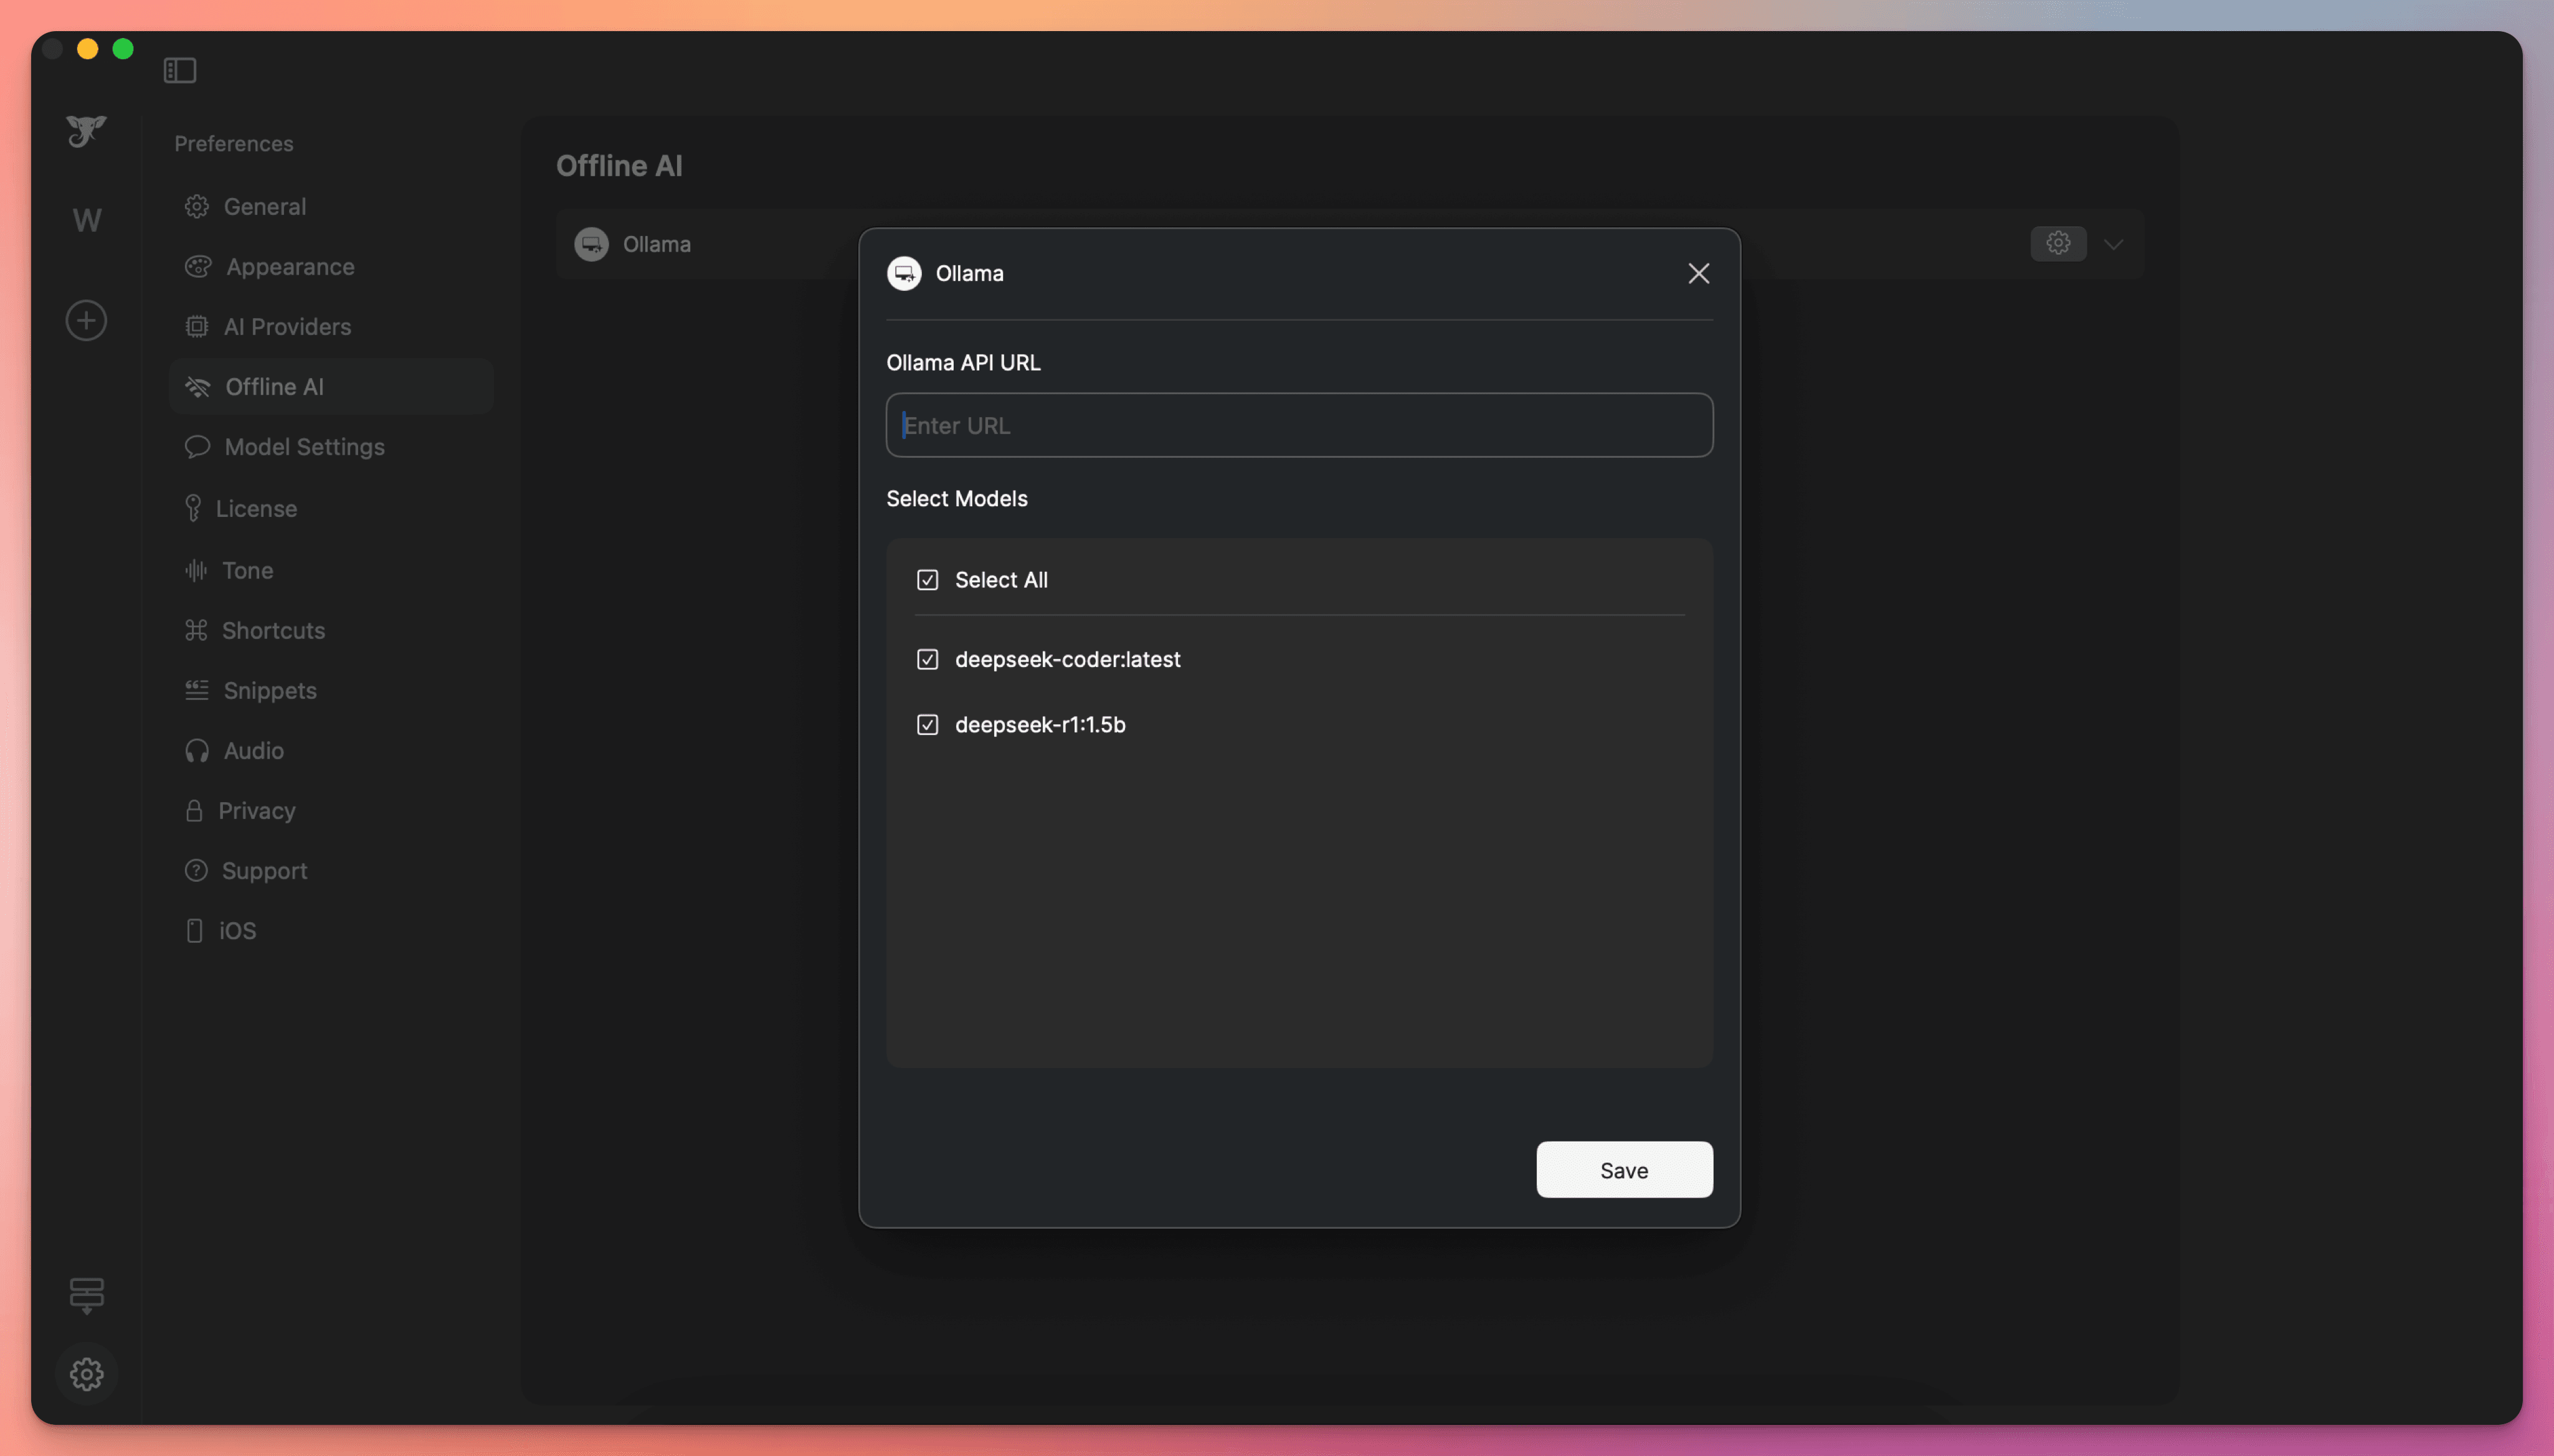
We created a free Mac app that you can use to manage all of your local LLM models
Step 2 - Create your first Brain
It’s a simple 3-step process -
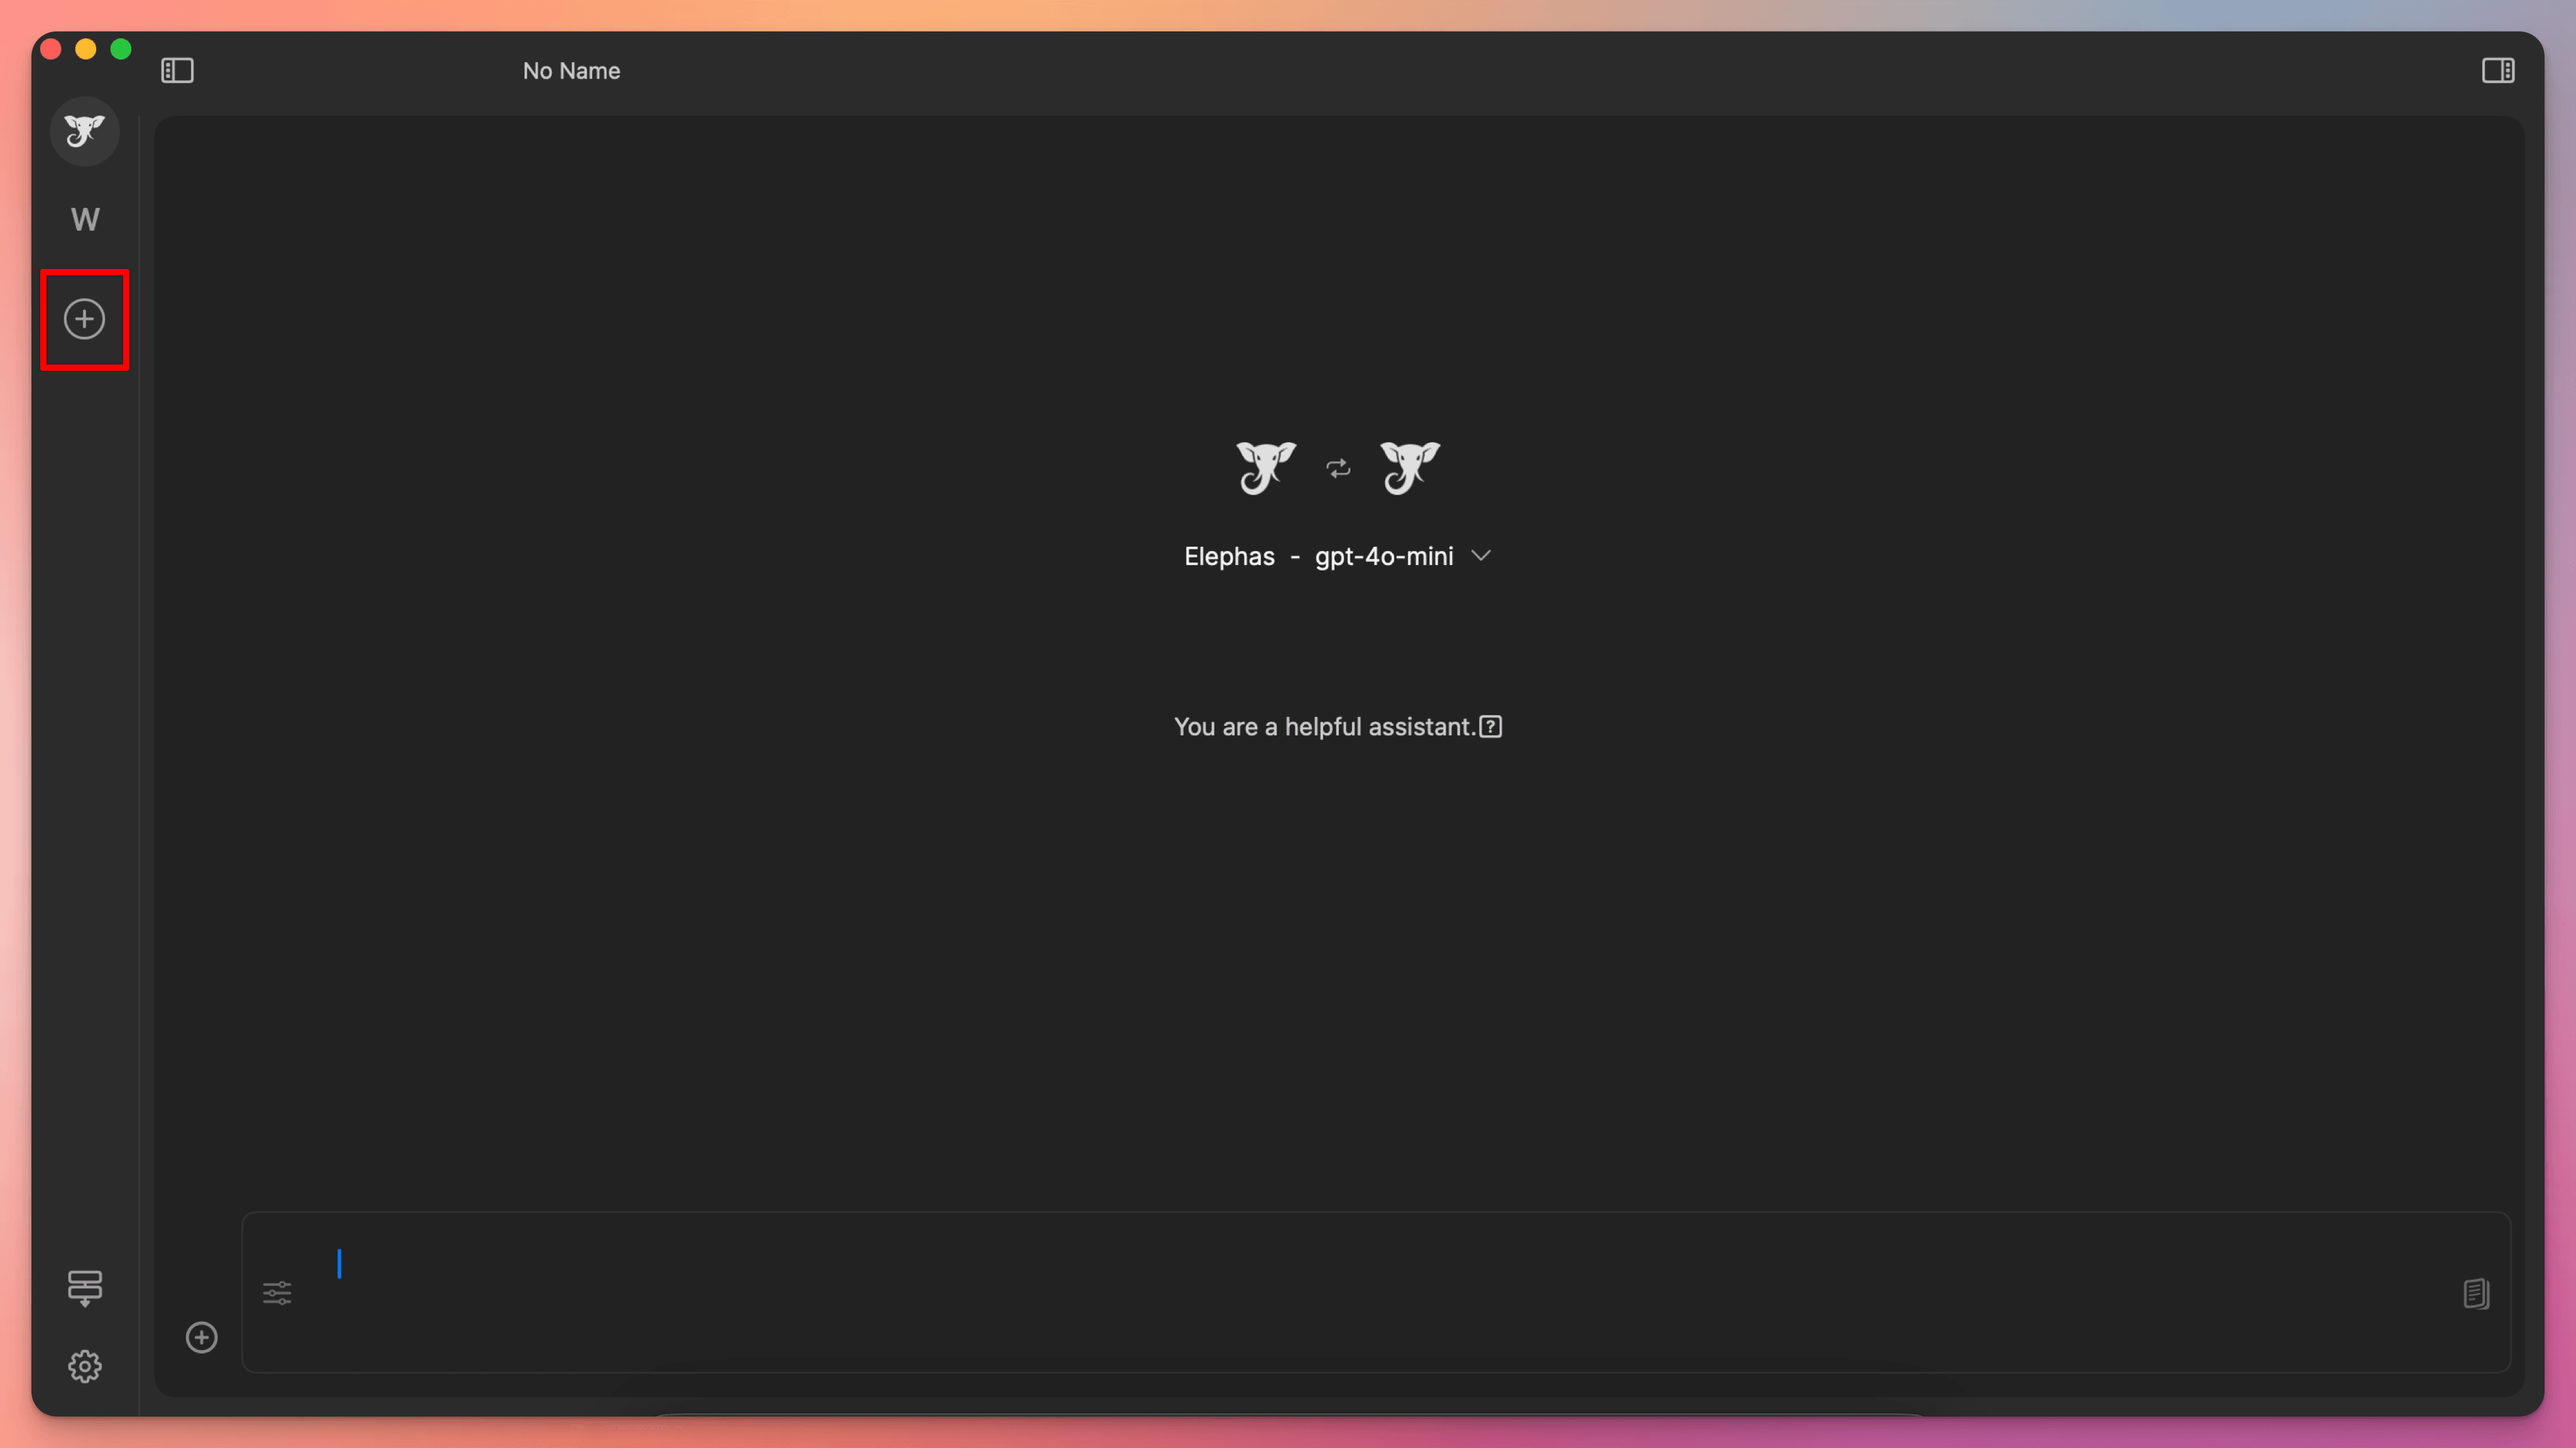
- Click the Elephas icon in the status bar
- Click the “Preferences” button
- Go to the “Brains” tab and click the plus (”+”) button.
Here you will get the option to create your brain.
You can customize the brain any way you like, you can give it a name, add a custom system message, and start loading your data from multiple
sources.
Some of the Data Sources are
- EPubs
- DOCX - Word files
- Web pages
- Note taking apps - Notion, Obsidian, Roam, Bear …
- Video files
- YouTube videos
- JSON (from 10.x version)
- CSV (from 10.x version)
- Images
- Text files
- Markdown files
- Selected text from any app
- Audio files and transcriptions
Here’s what the “Create Brain” popup looks like -
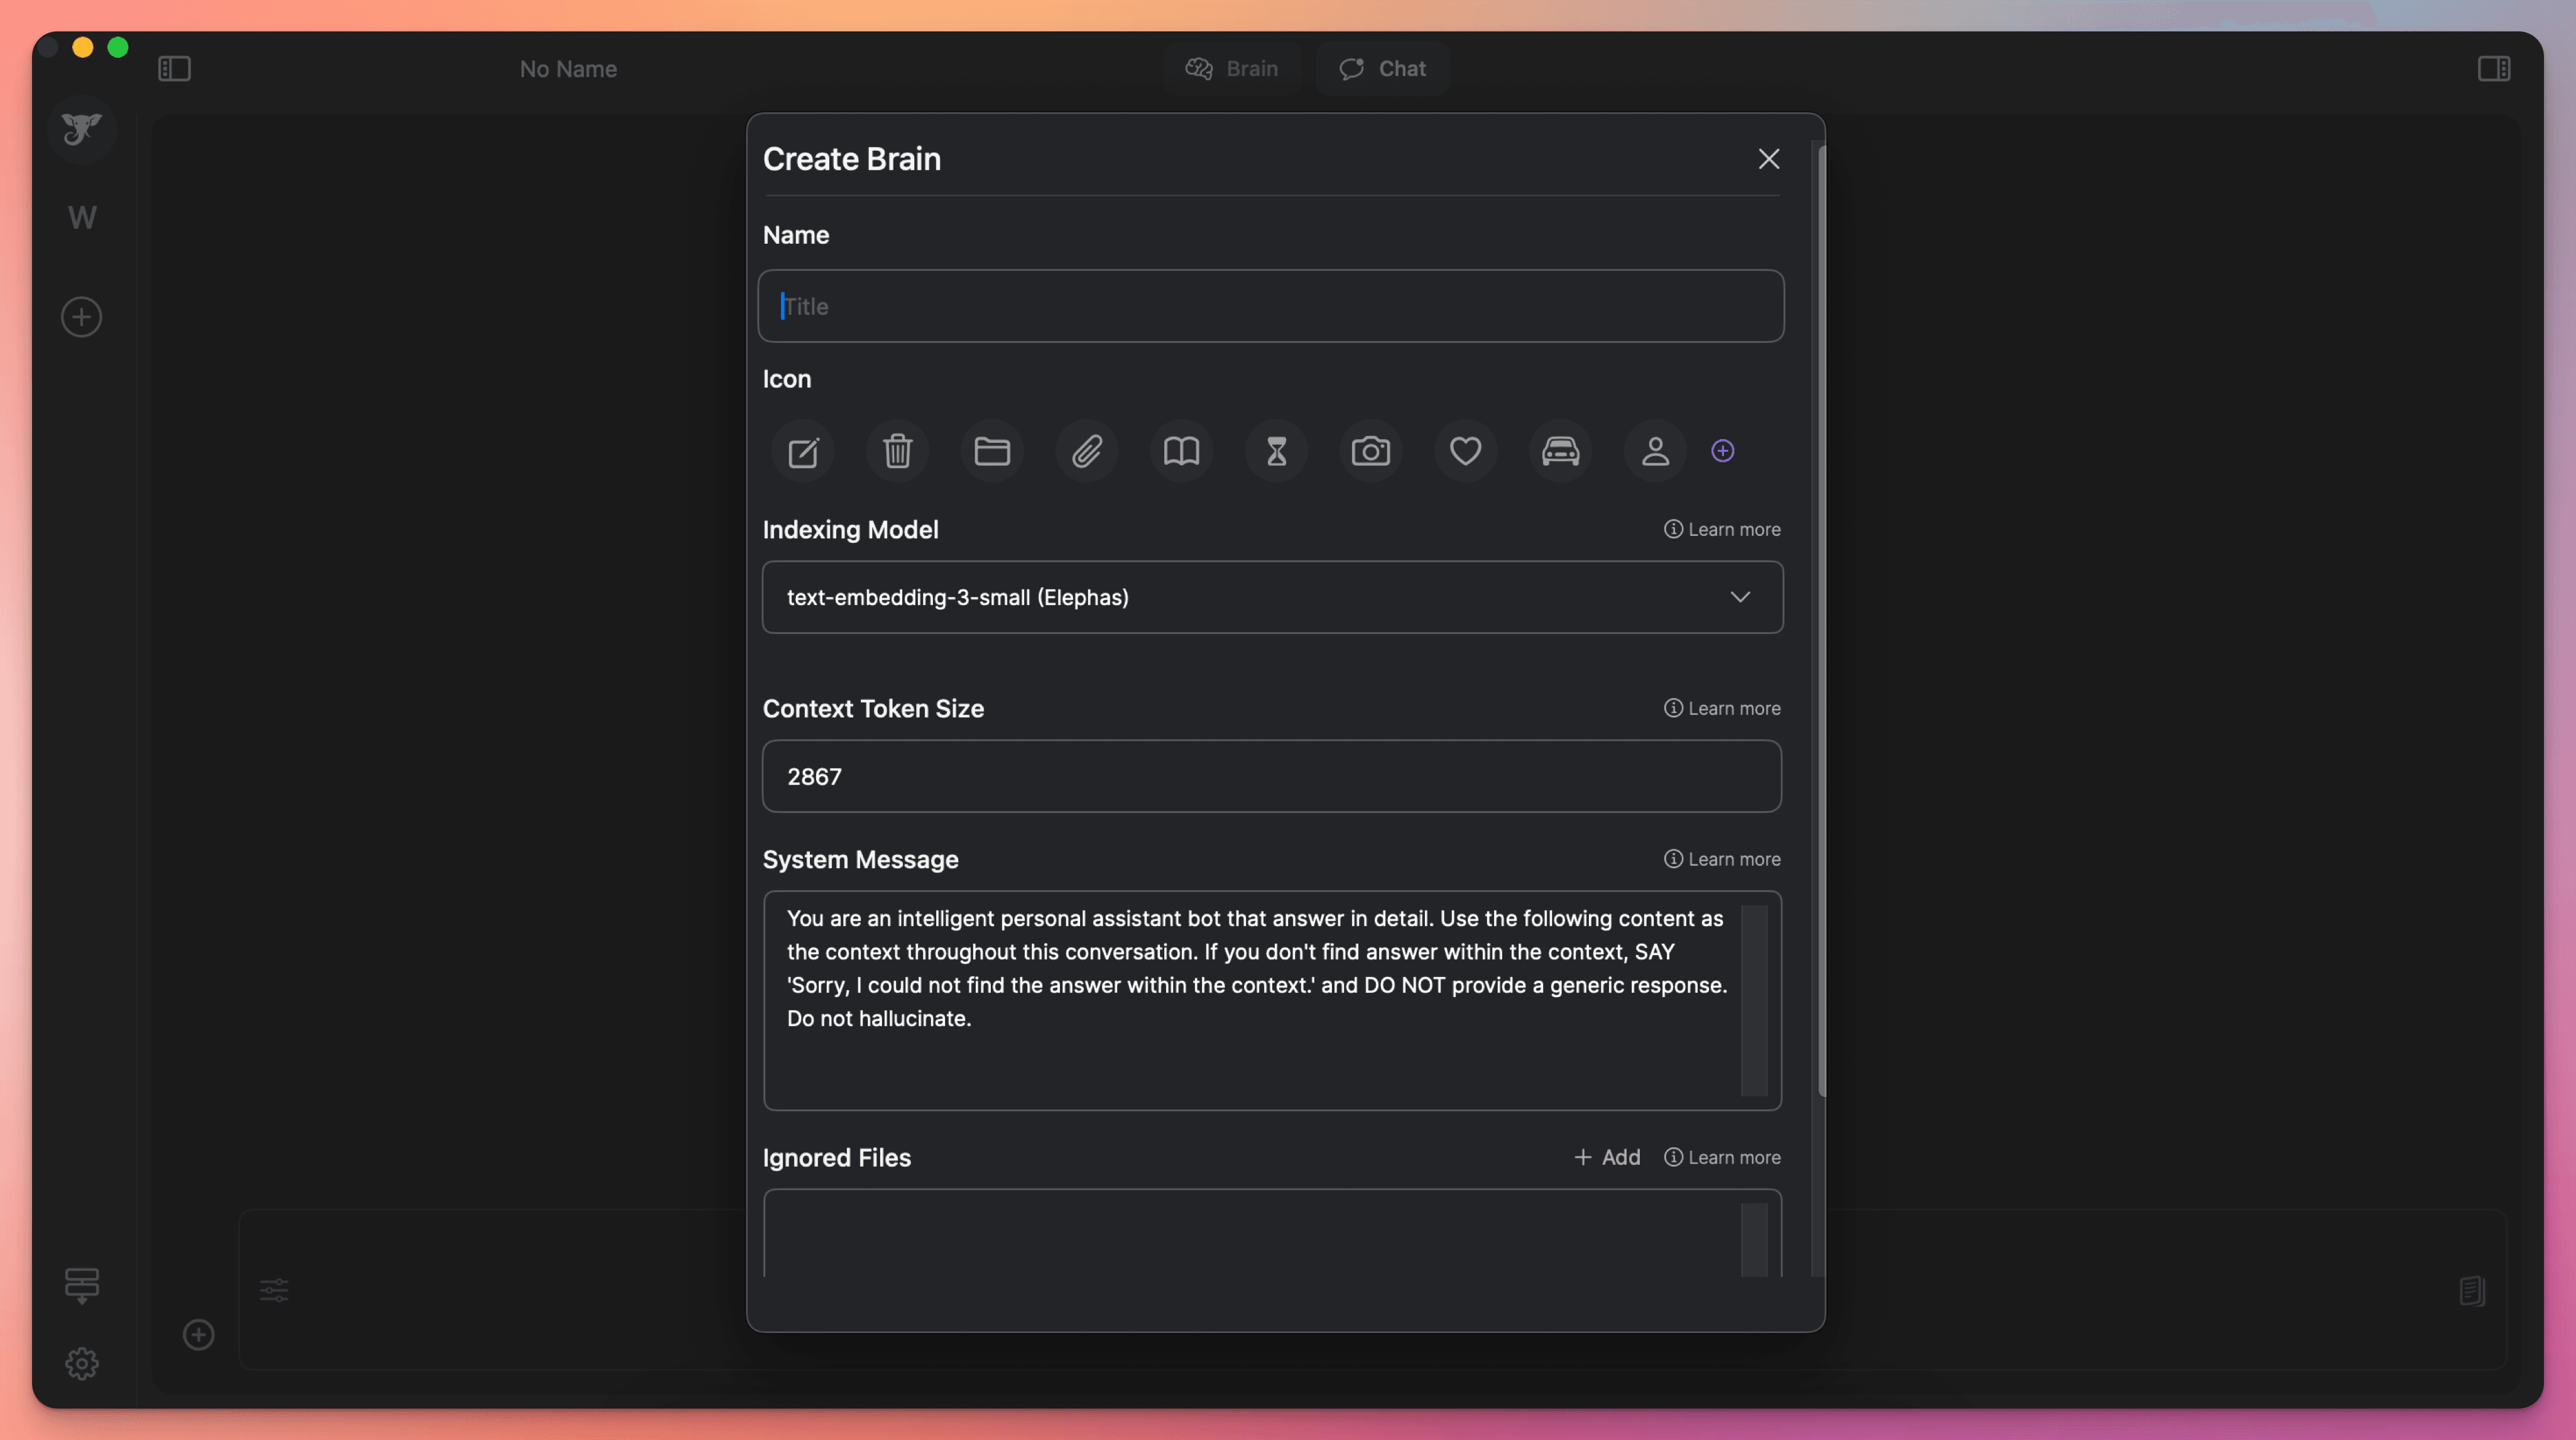
Now, how you create a brain is important.
Remember step 2 of the 4-part second brain system - Organize information.
Elephas lets you create as many brains as you want, with as much information as you want. So you can create a separate brain for each topic that you care about.
You can organize your brain based on projects you’re working on, or subjects you want to study, or based on categories like books, blogs, papers etc.
For the sake of simplicity, it’s best to create a brain for each topic.
Once you have set up your brains, you can start adding content to them.
That’s step 1 of the second brain principle - Capture.
Step 3 - Start adding information to the Brain
There are 2 ways to add information to the second brain -
1. Add from “Brain Preferences”
You can go to the Super Brain through the Preferences tab, or if you have set up a shortcut, you can directly go into the “Brain” preferences.
There, you can select your preferred Brain, and on the right side, you have to select the option for Brain. There, you can see the Add Files option.
If you want to chat with your Brain using already uploaded files, you can select the chat option.
As you add more files, Elephas displays all the files added to a particular brain. It also checks the new files for duplicacy so that you don’t store redundant information in the brain. You can even delete information from the brain here.
This is what it looks like -
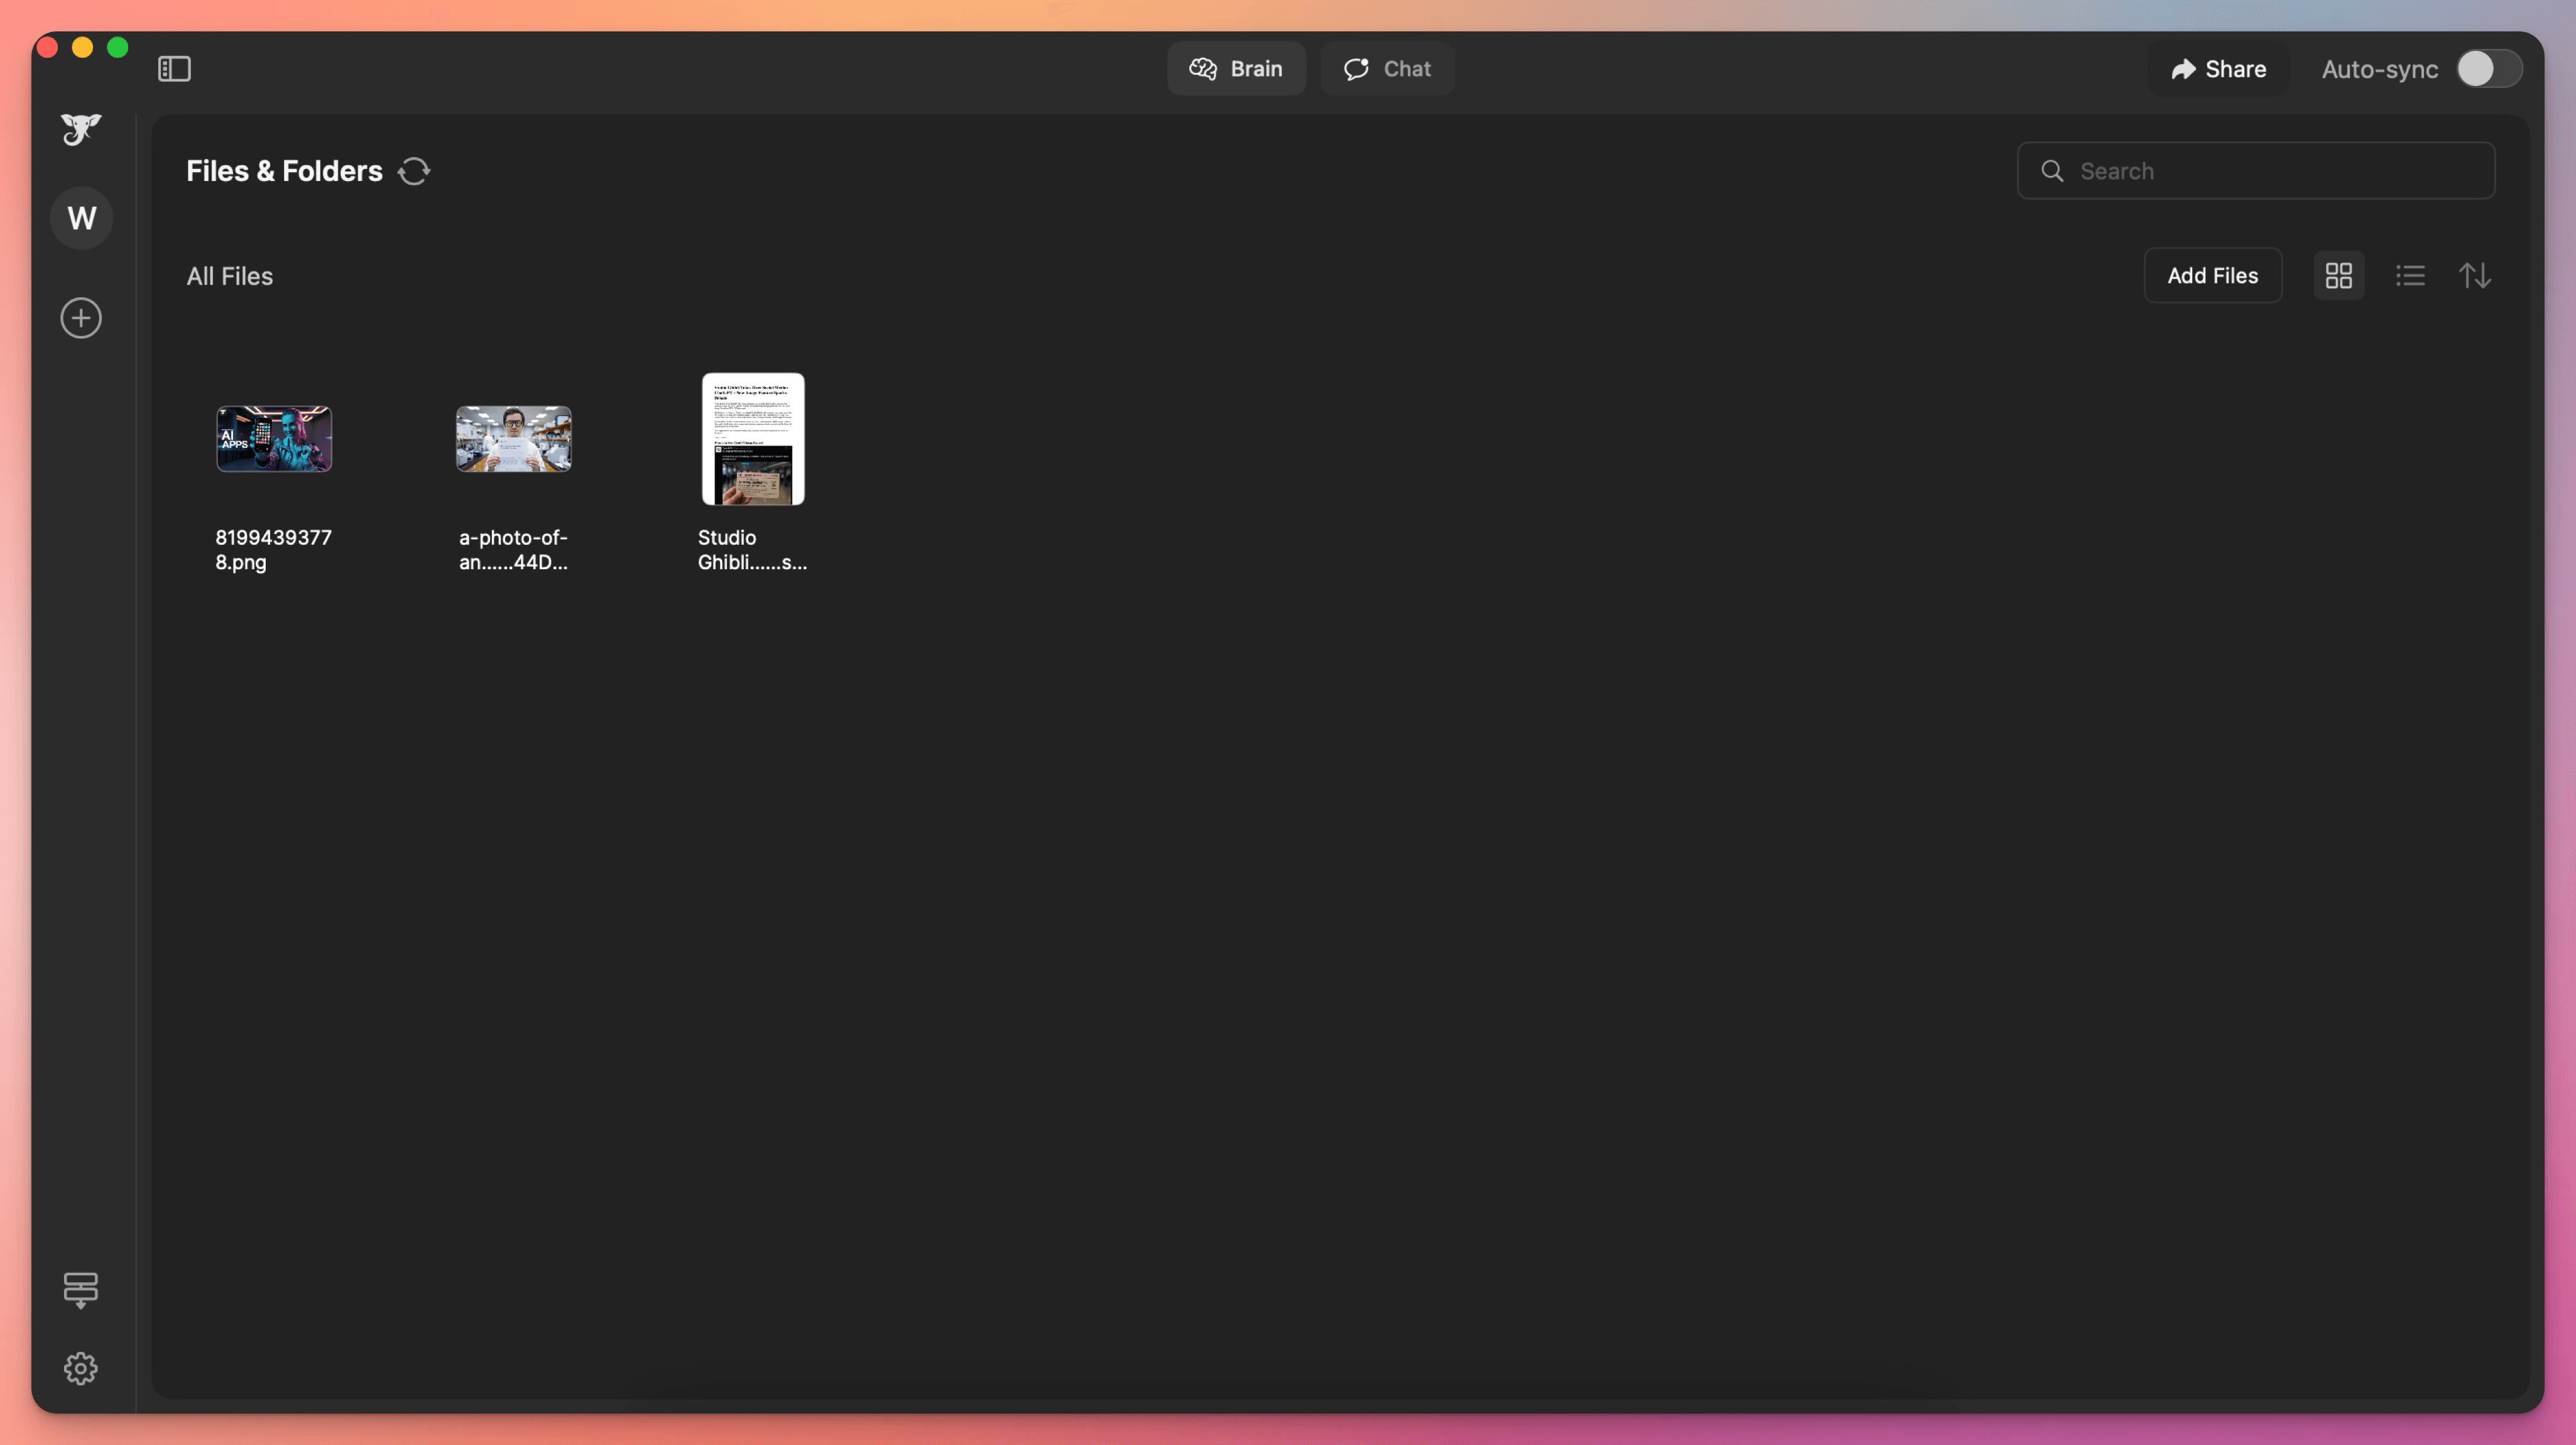
As you can see, I added images and a doc file, but you can also add YouTube links and web pages to Super Brain.
2. Add dynamically via shortcut
Elephas gives you the option to add any information to a brain via an “Add to brain” shortcut.
This way you can keep adding to your second brain from any source on the internet or on your computer.
Elephas works everywhere on your Mac, so any piece of information that you can consume on the Mac, you can add to your brain.
This is how it looks like when I added a short paragraph to my brain -
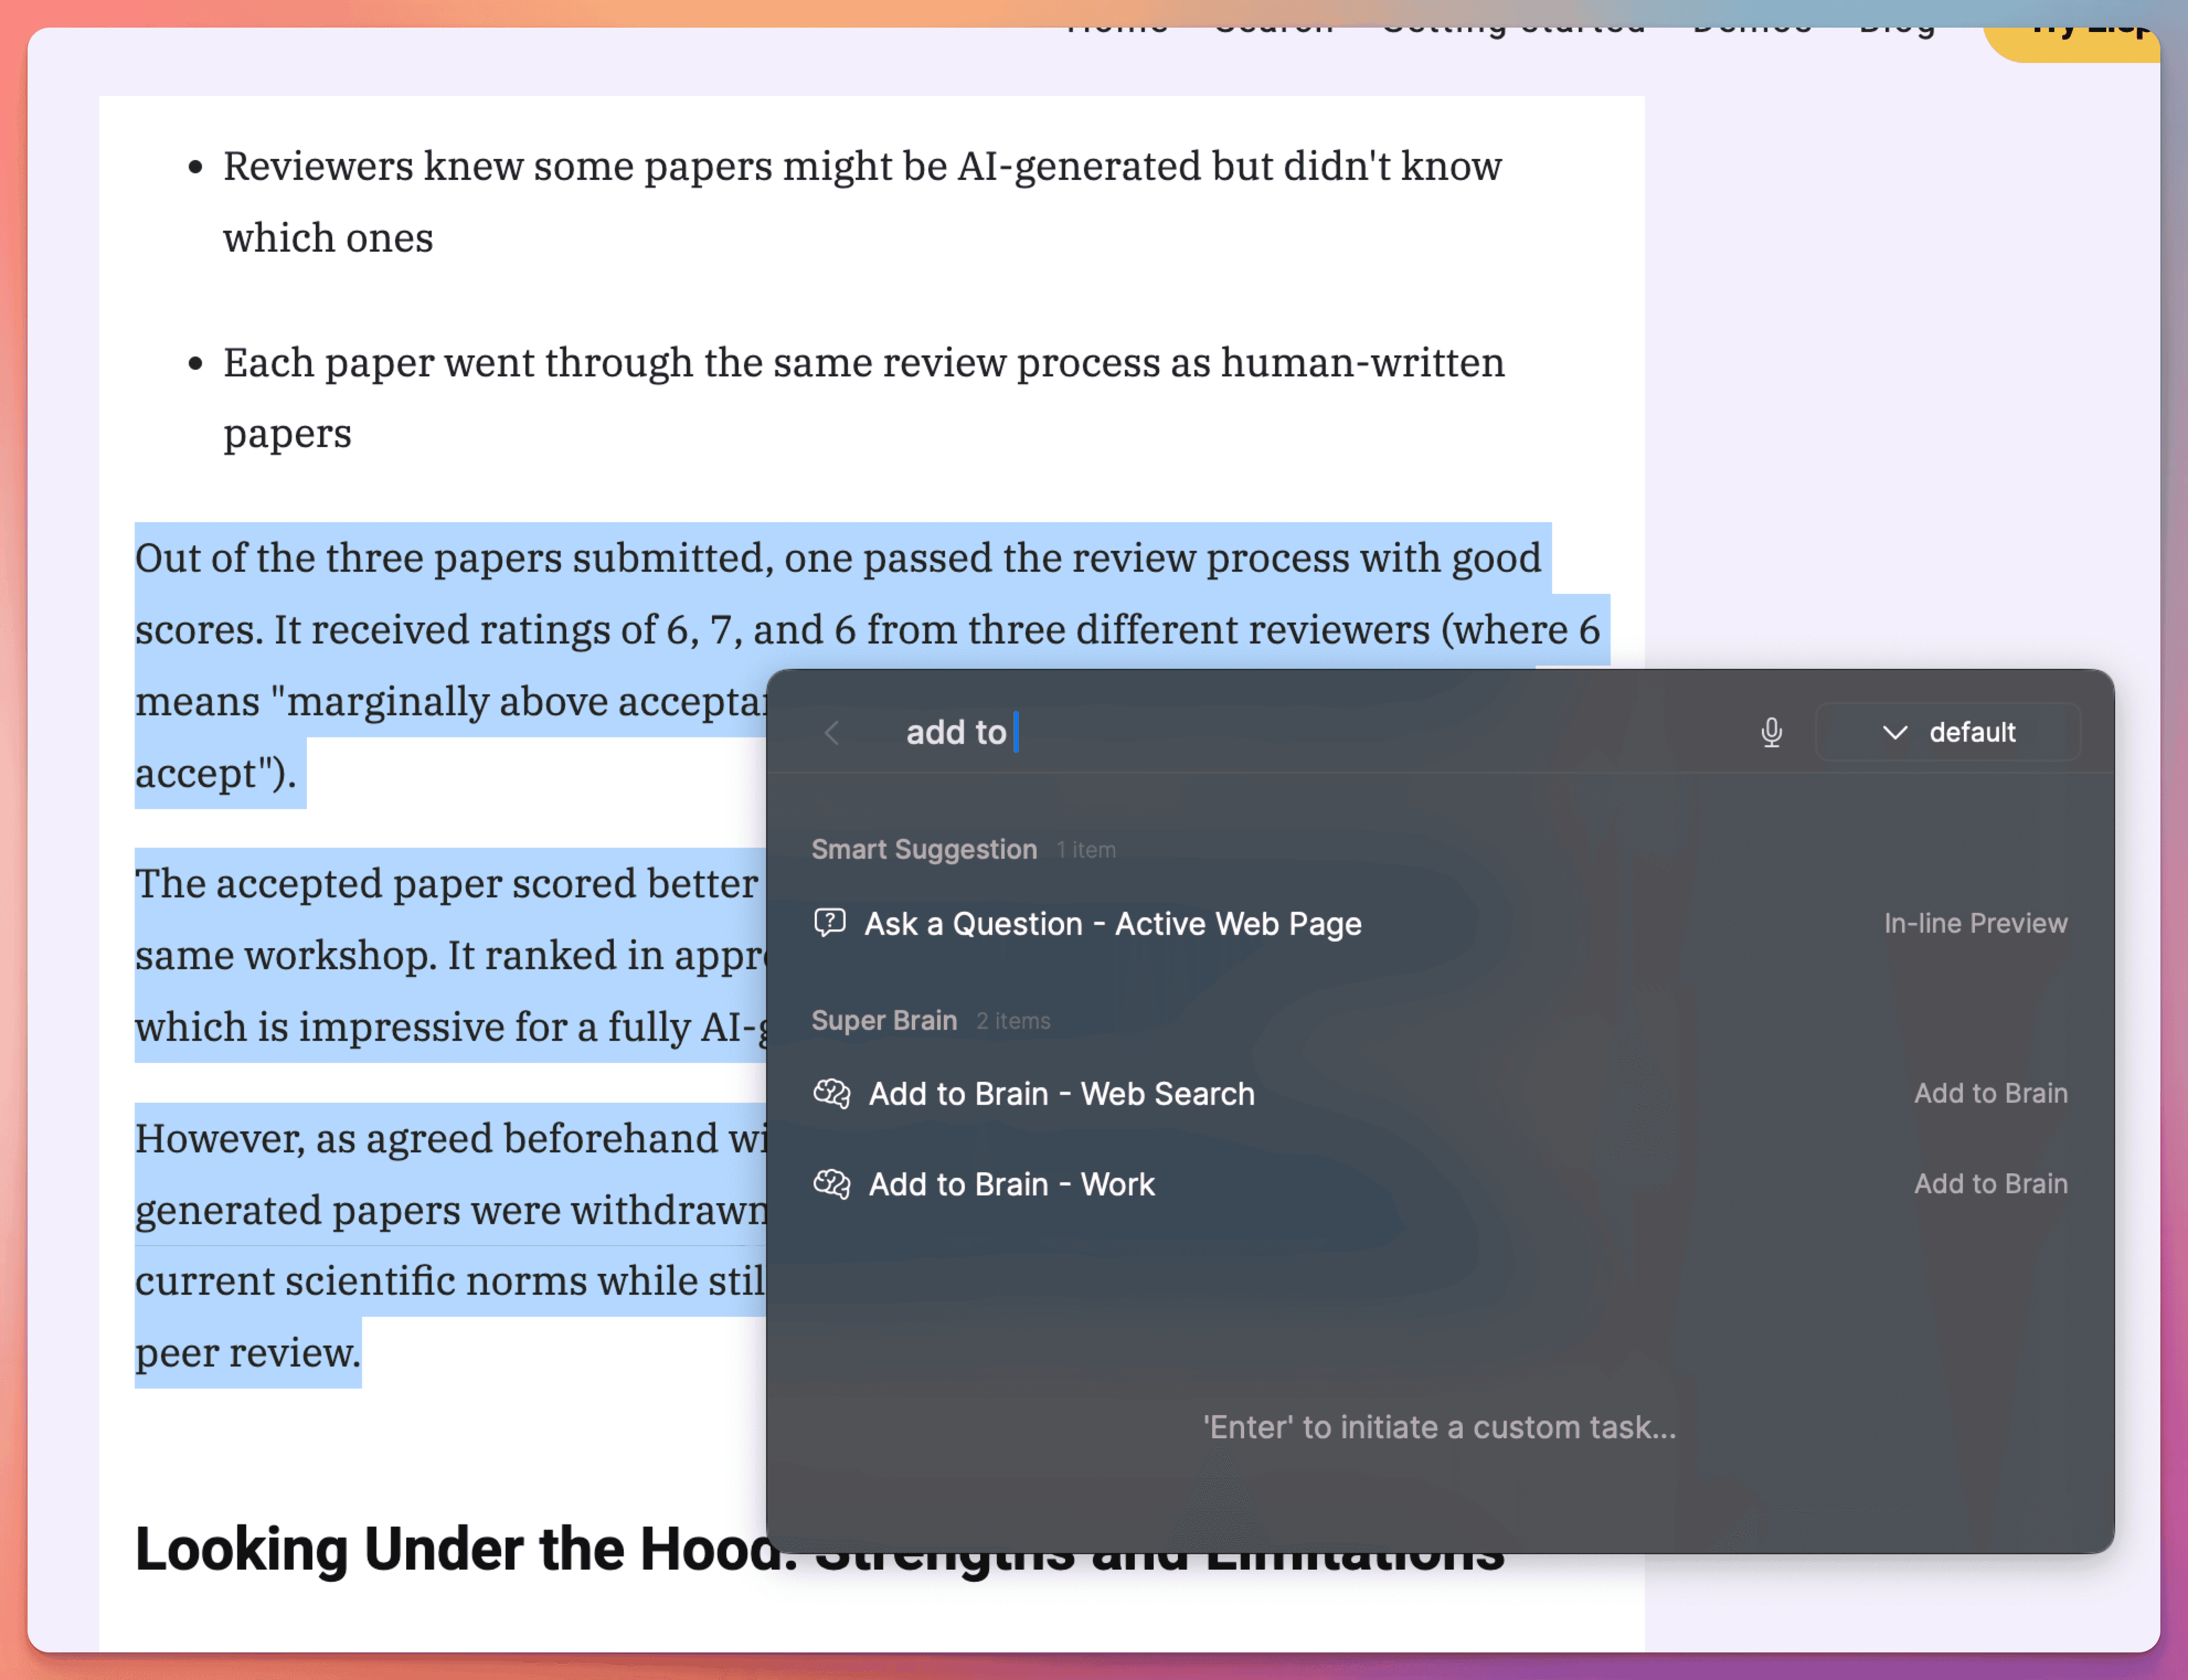
I found this snippet interesting from our latest News Article: AI Scientist Makes History. We create a weekly newsletter and news article on the most interesting news of the week in a compressed format.
I selected the relevant text, pressed CTRL + Space Bar to bring up the Super Command, and then selected the “Add to Brain” menu option, and selected the “Web search” second brain to save this snippet.
Now I can be rest assured that this interesting piece of insight is stored in my AI second brain forever. Whenever I want to use it, I can distill it and express it in my own voice.
Which is the last part of using your second brain on AI.
Step 4 - Accessing Your Second Brain
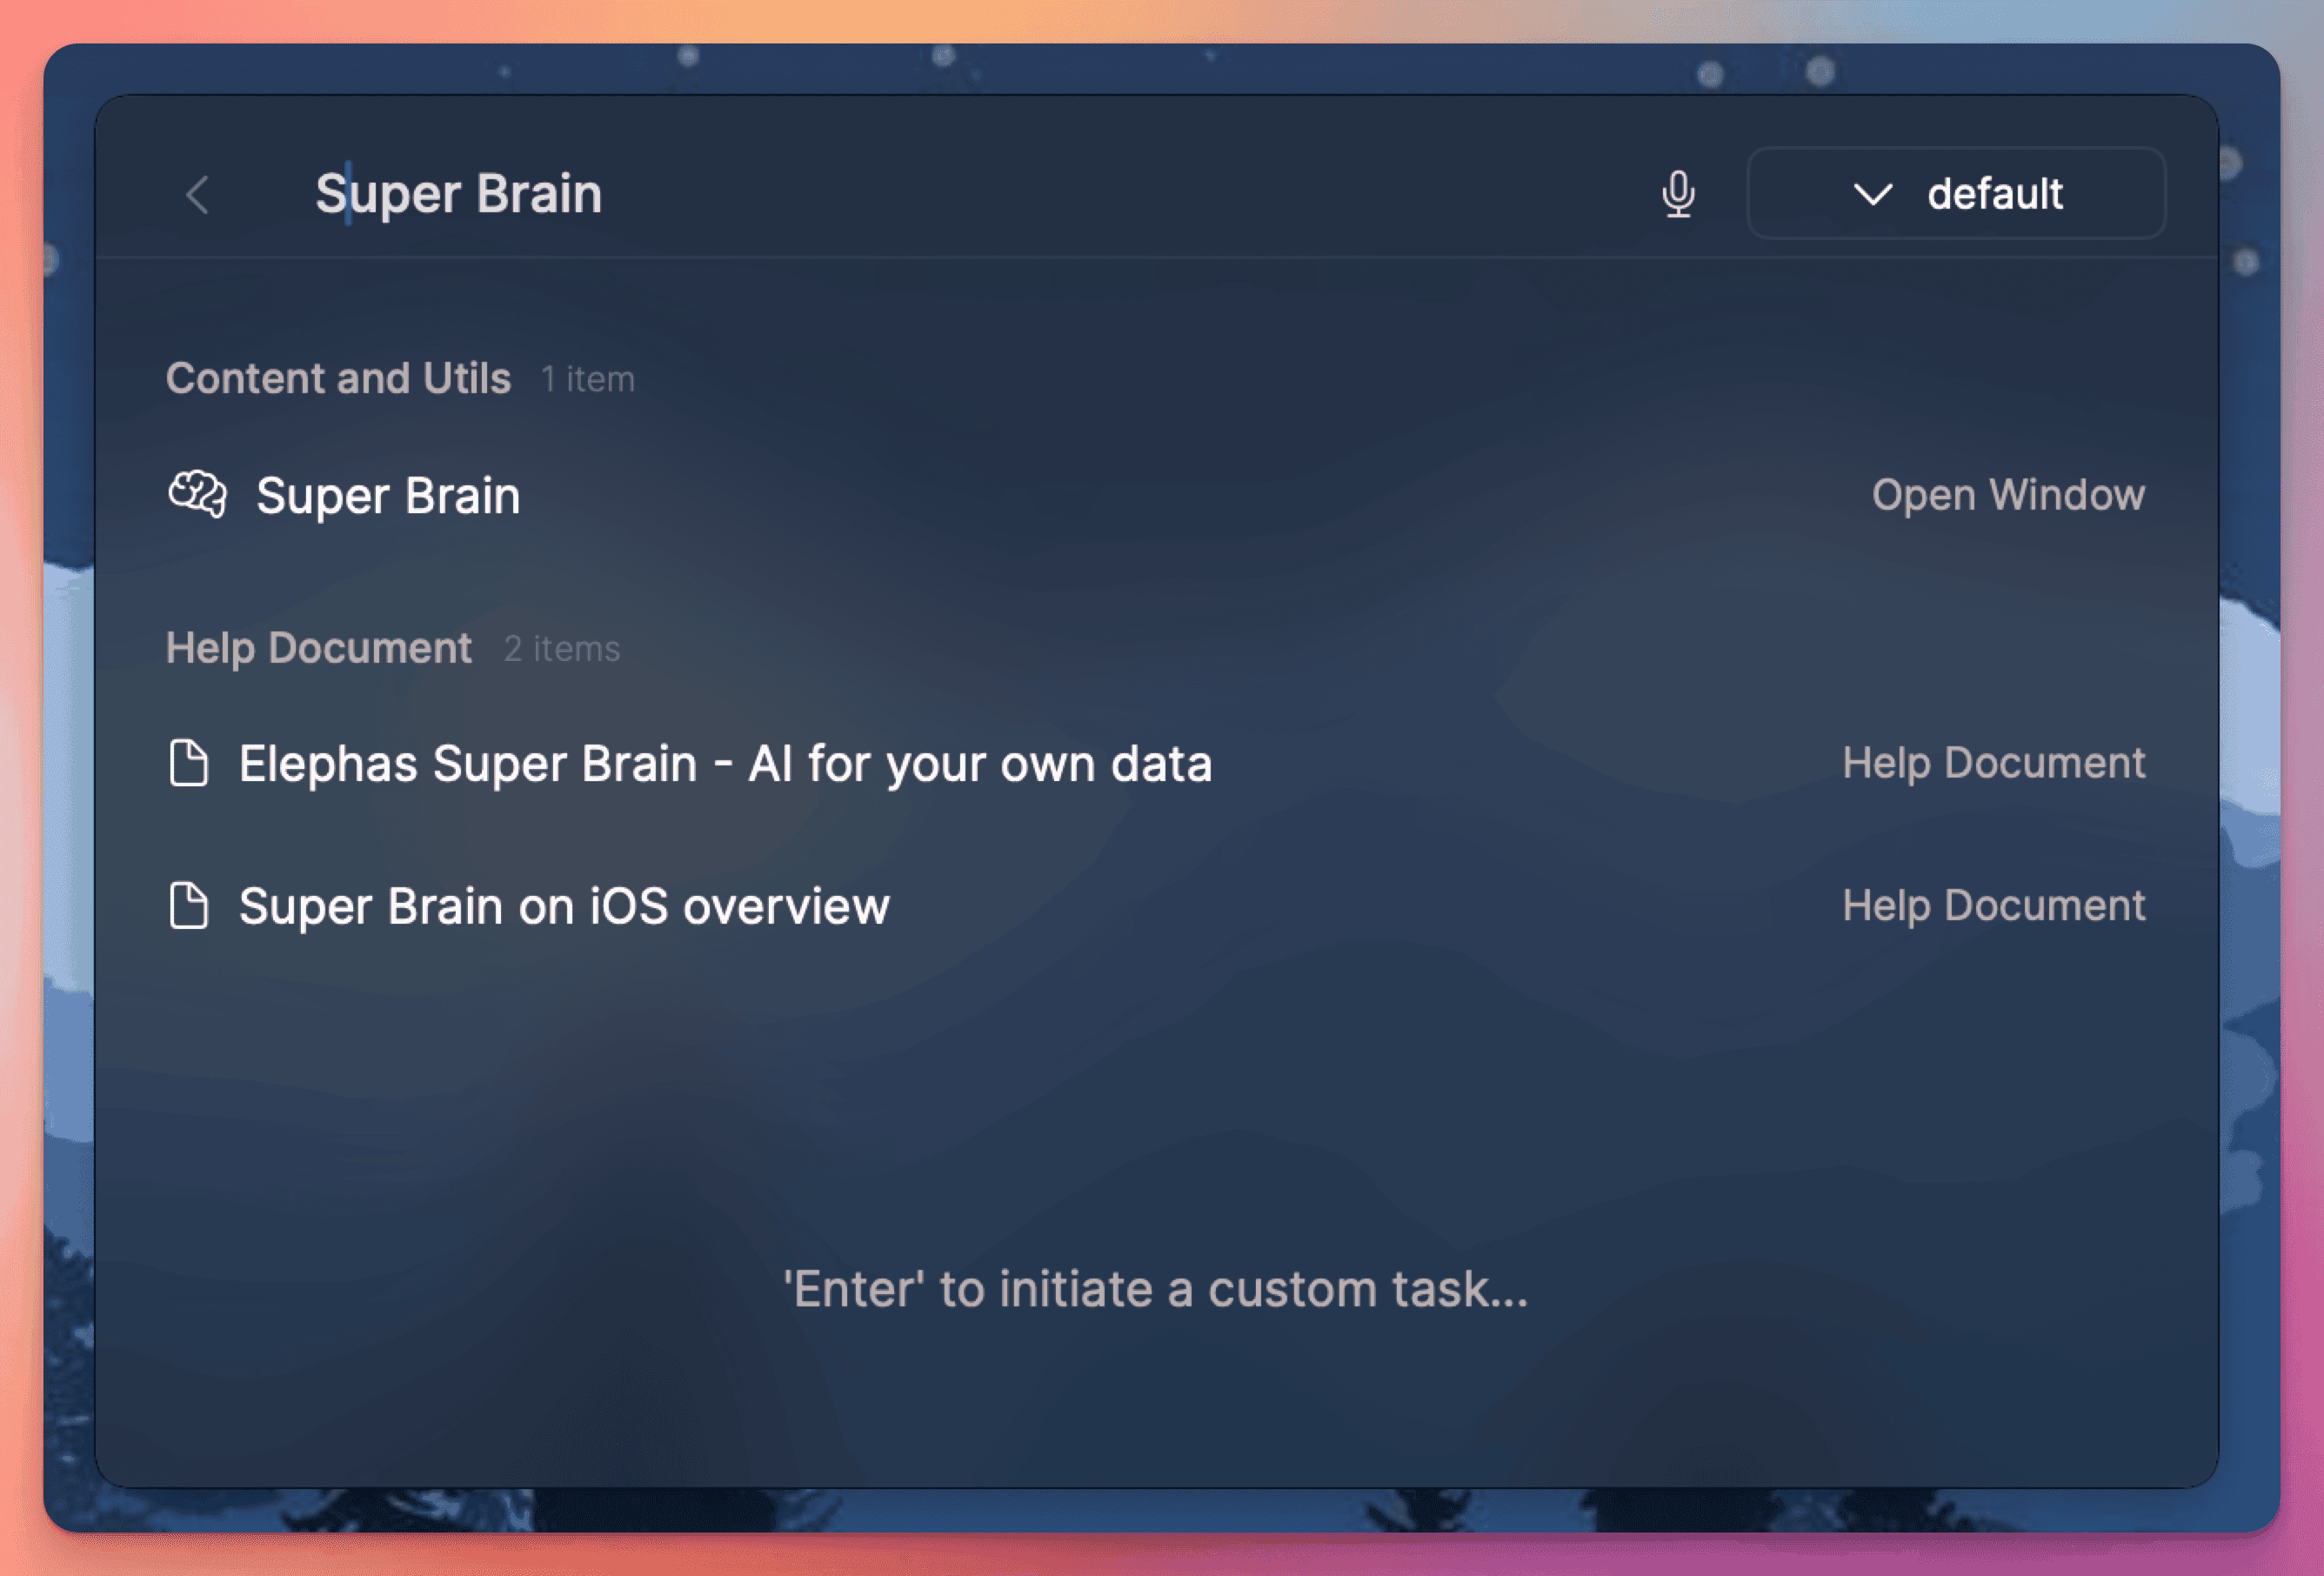
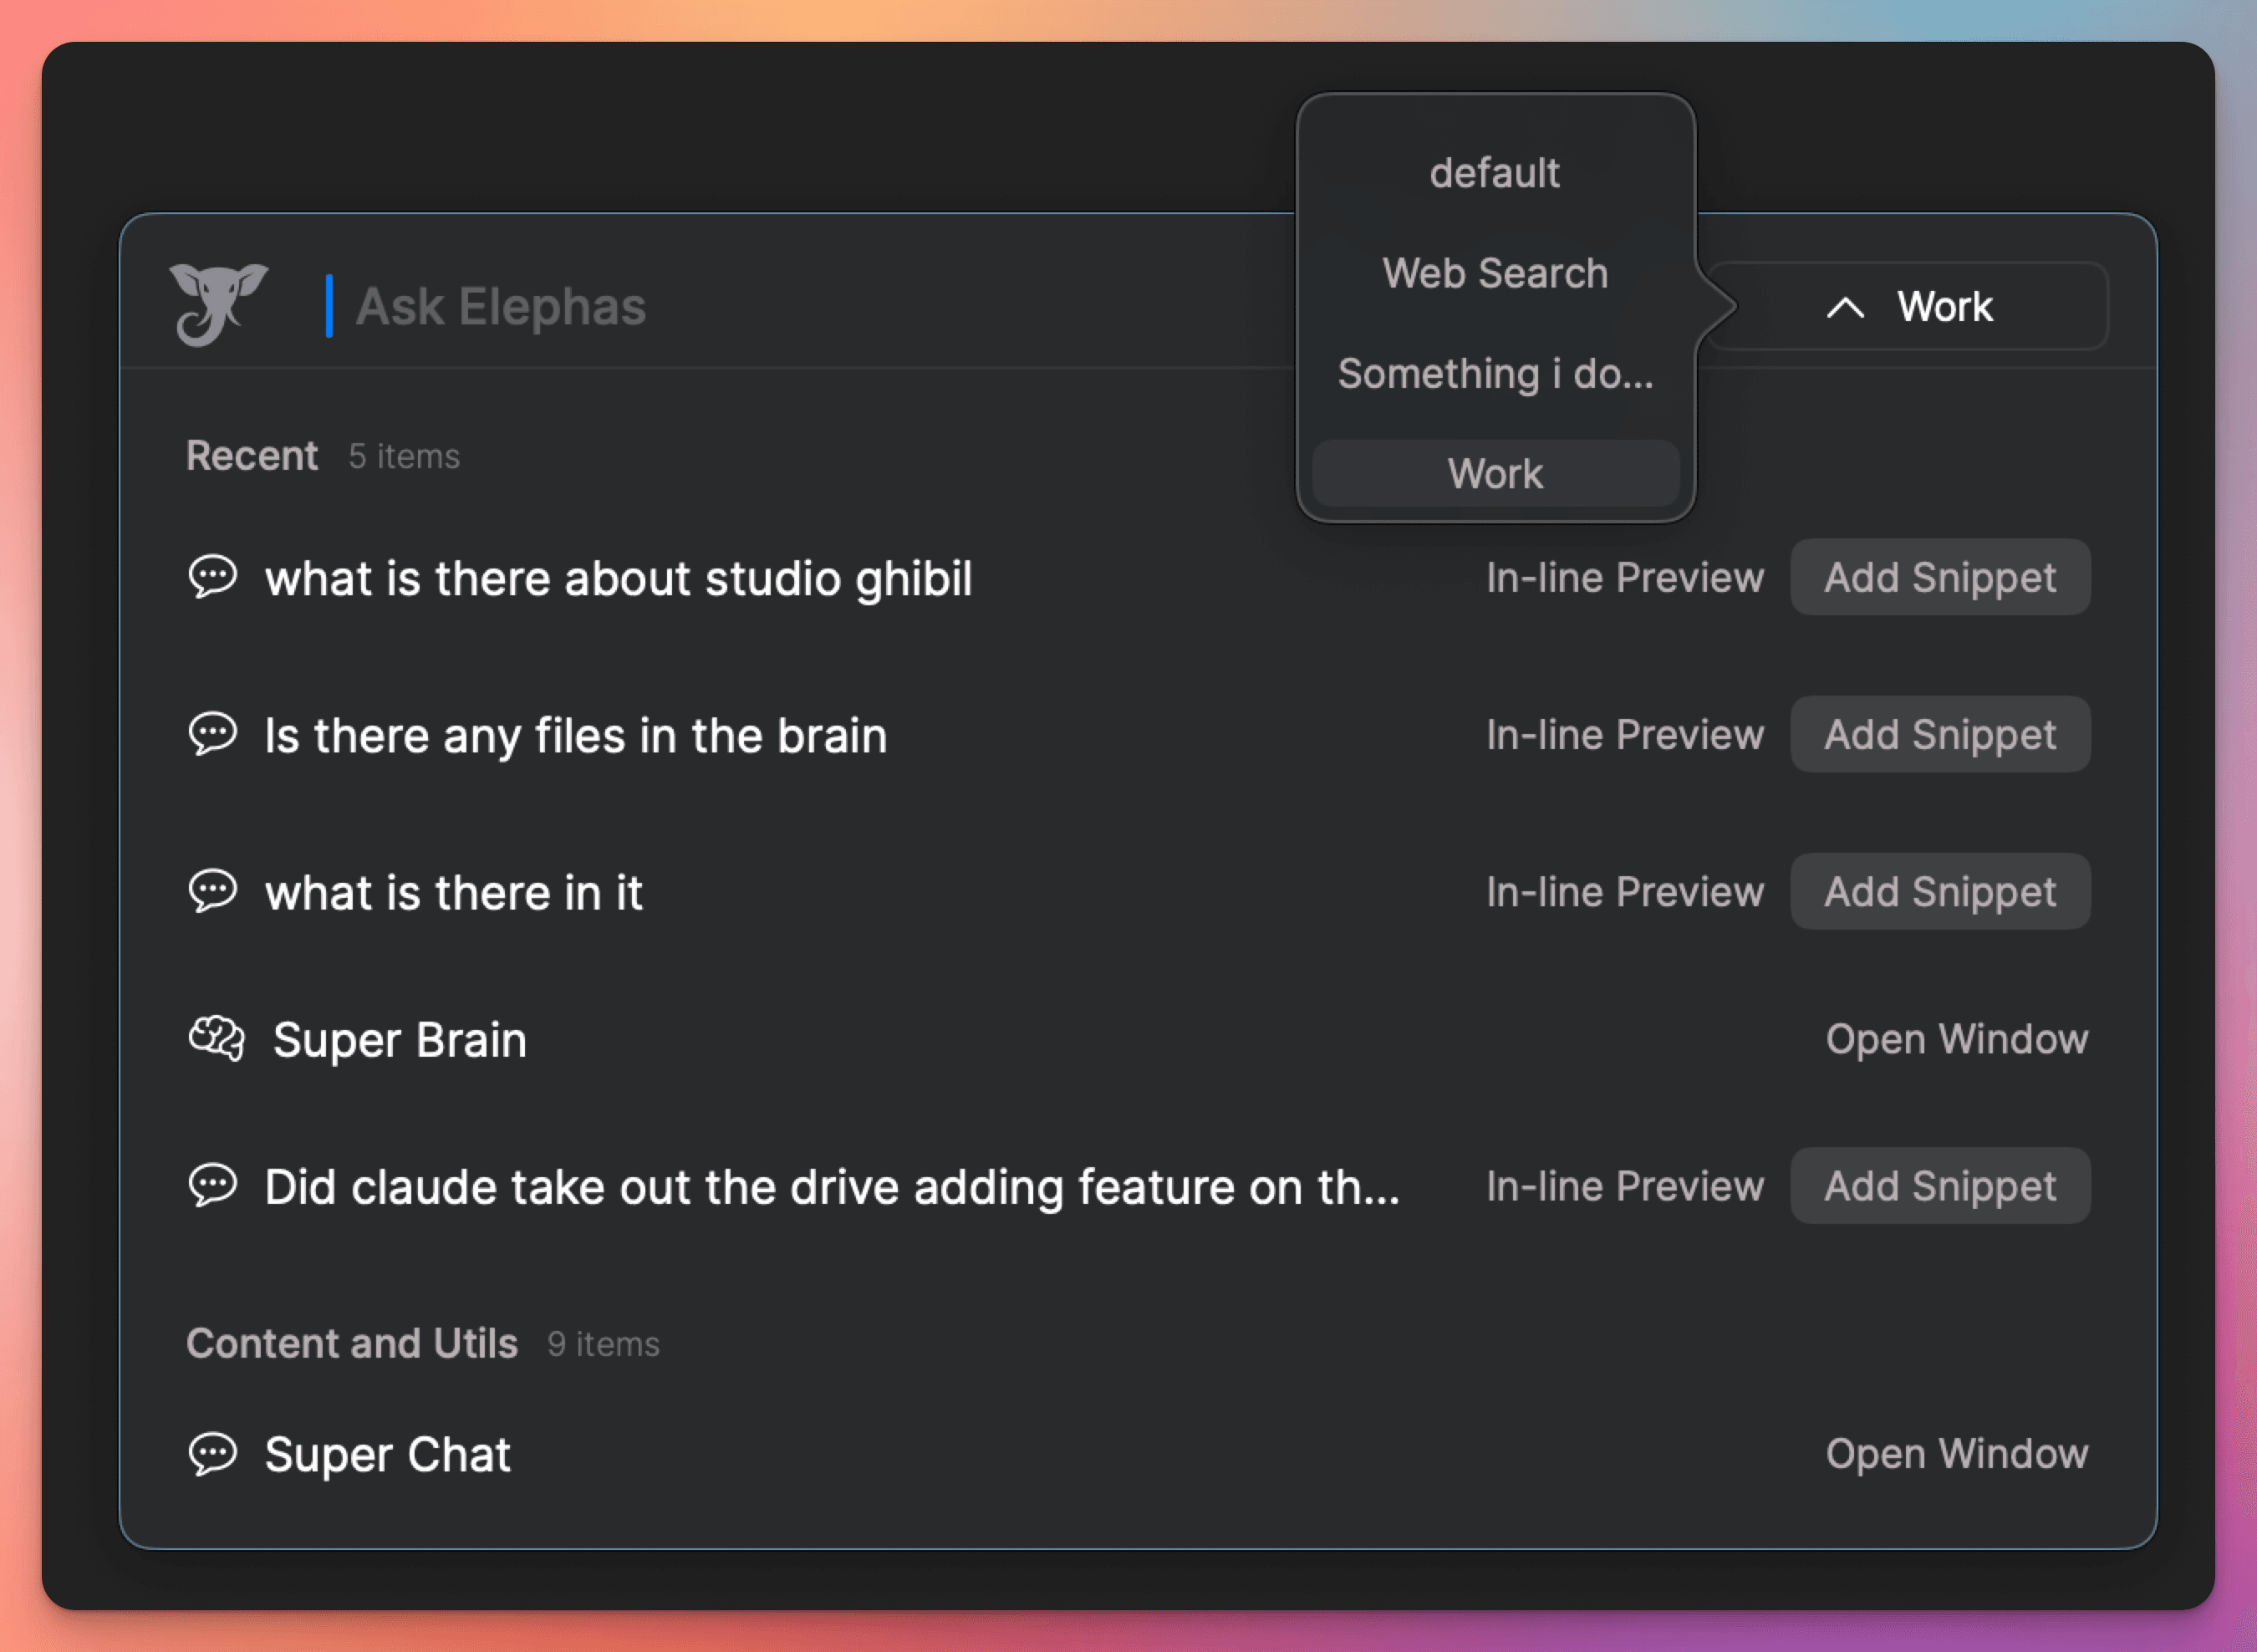
The best way to access your AI second brain via Elephas is by using the “Super Command” feature.
You can access it directly from the Elephas menu options or create a shortcut for it in the preferences tab for much easier access.
Here’s what it looks like -
You can also chat with a particular Super Brain if you want directly from the Super command itself by selecting the Brain.
Now, you can ask any questions you have about the topic, and the brain will answer you based on the information stored in it.
This is the best way you can distill and express the information from your second brain on AI.
Elephas Super Chat also has a citation feature.
It cites all the sources from the second brain which it used to answer the question. This adds to the reliability of the platform.
The citation feature helps you ensure that your AI second brain isn’t hallucinating and it’s basing all answers on the information you have captured in it in the past.
Conclusion
As you can see setting up an AI second brain is so simple and powerful with Elephas - AI assistant for your Mac.
And when you set it up like this, you can also easily follow the 4 parts of the second brain system -
- Capture
- Organize
- Distill
- Express
Hope this was useful.
If you have any questions or need help, please don't hesitate to reach out. We are always here to help.
You can find more details about Elephas Super Brain on this page -
Thanks,
Kamban, Maker of Elephas.